Following on from last week’s post I will be showing how we tackle the task of changing the direction of an orchid cabinet pull from left to right. Down-stream we will be making a new mold that will allow us to create a right facing orchid stem directly from the mold with each wax section emerging from the mold as a component for a right facing pull. Until demand warrants the time and cost of making a permanent mold we will need to re-work the stem and flower sections at the wax stage to create a new right pull. This process will be repeated for each pull ordered and as we have 8 pulls to make with each pull requiring 3 wax sections, we will be investing a considerable amount of time modelling by hand all 24 wax sections. The waxes will then be shelled with silica and eventually will be melted out in an autoclave and fired to create a hollow shell which will be invested with molten bronze. The wax that is burnt out is the reason this casting method is often referred to as “lost wax” casting. Rather than making wax replicas one could map the original left pattern to create a file for a right pull and then print each section or possibly the complete piece as a 3D print. To create the print, successive layers of photo-reactive resin are built up and allowed to solidify, a process that would also take hours. Given the extremely detailed nature of the pull the 3D print would still require some cleaning up before it could be shelled, making it a less viable method of production.
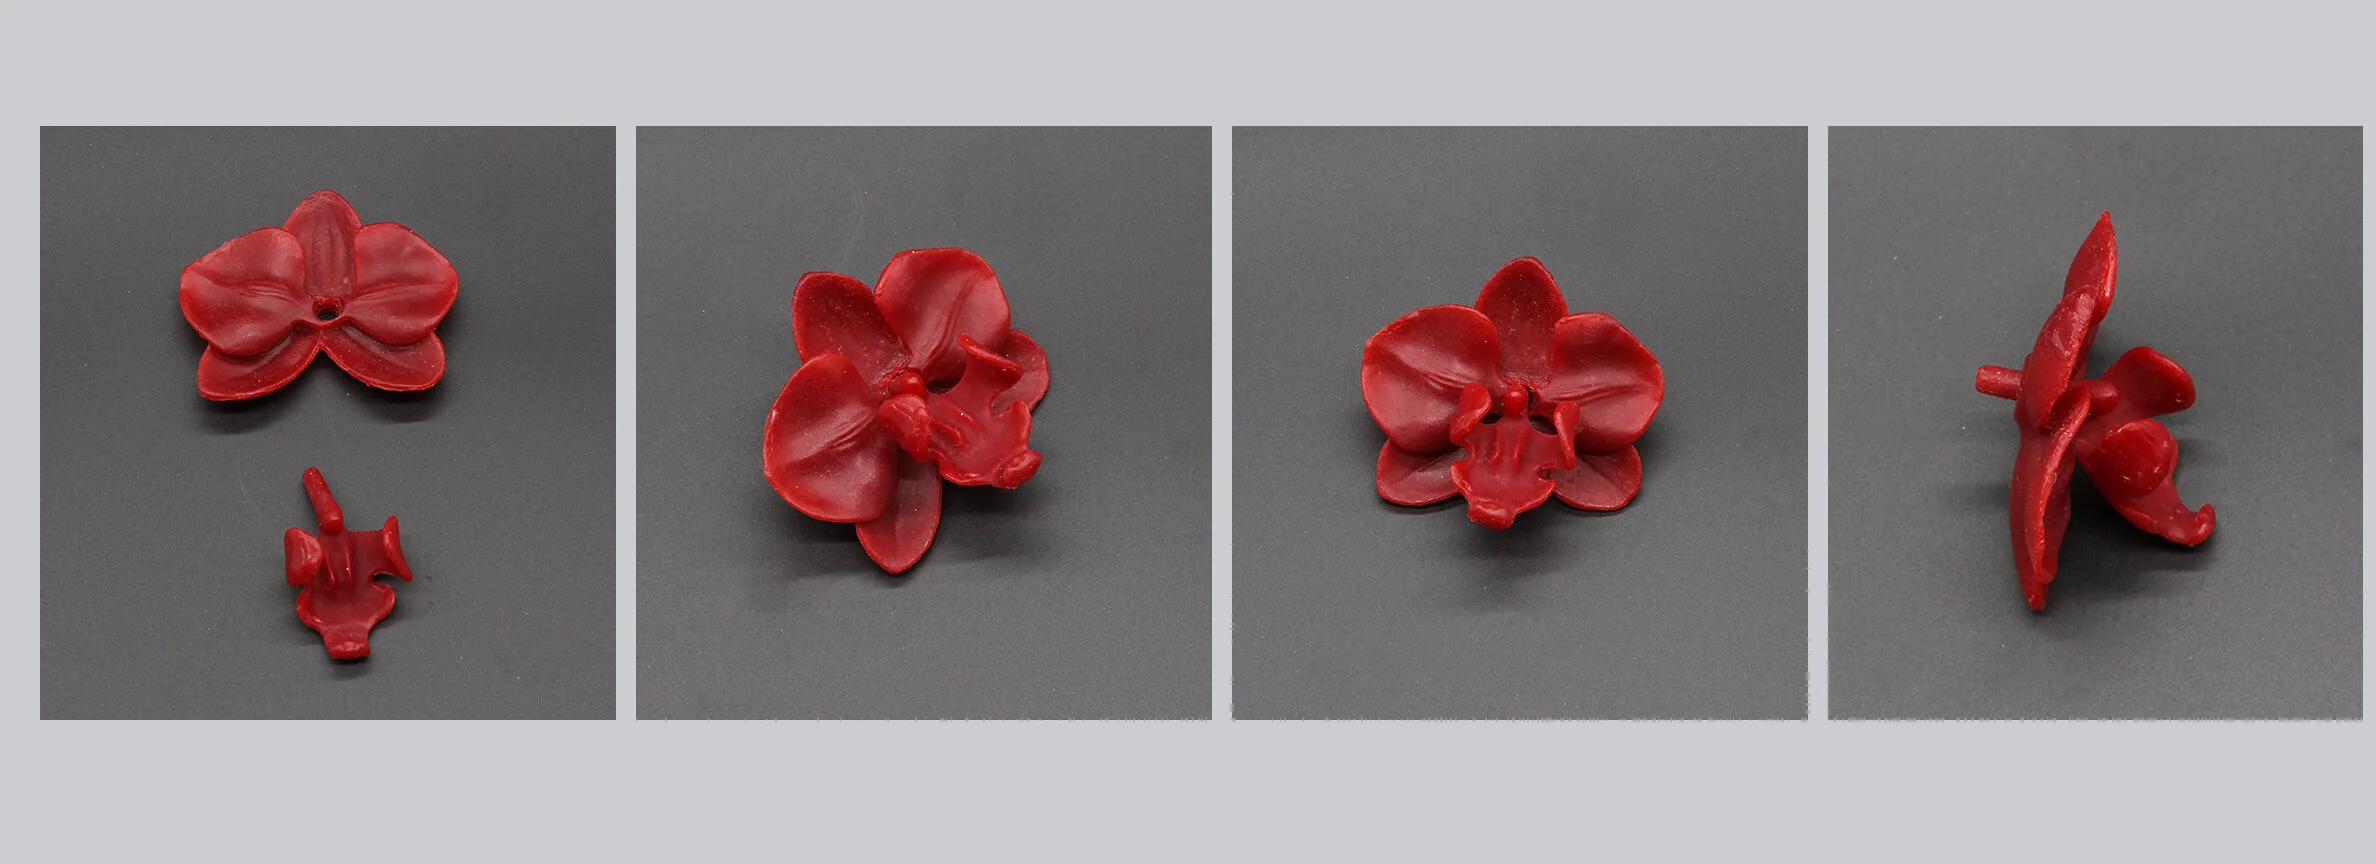
Left to Right: Flower 2 parts, Assembled in wax, Front View, Profile View
In Photoshop it is easy using the edit function to flip an image horizontally so that it is shown as the mirror opposite and so change a left directional piece to a right in directional one. However, in the real 3D world this would not work and in the case of the orchid stem rotating the pull right would result in the 2 flower heads facing down making for an upside- down pull. To achieve a right facing pull the curve of the sprig as well as the flower heads and buds need to be cut and re-positioned.
Orchid Components - left facing buds and flowers re-positioned and shaped to become right facing


