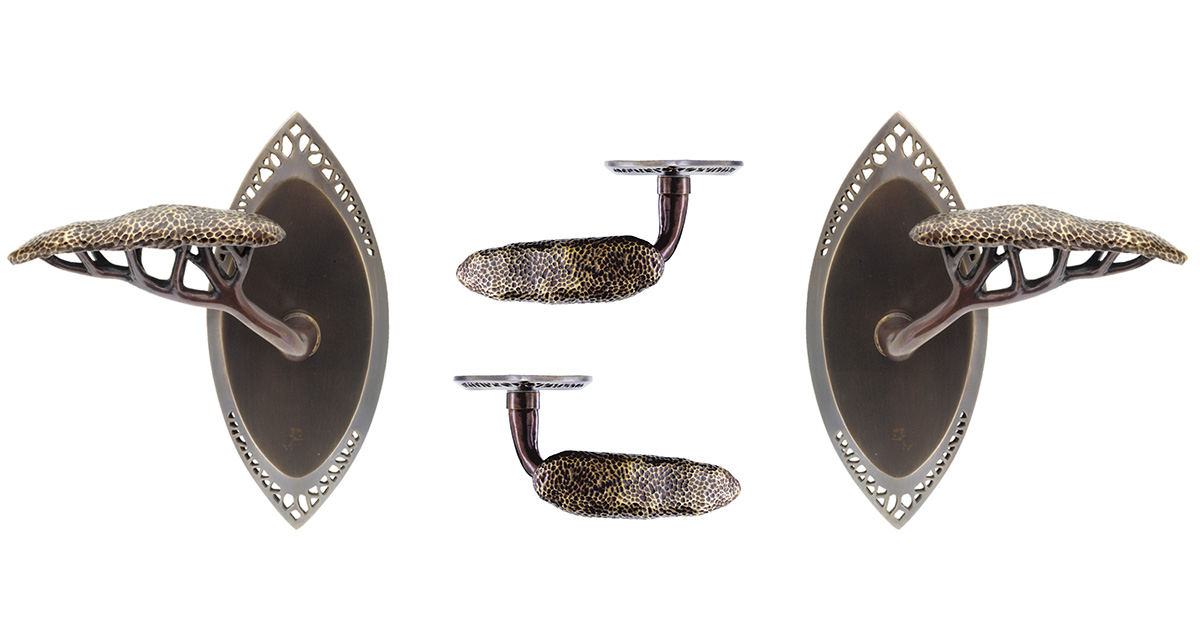
Hidden elements of artistic door handles

Intricately detailed bronze door handles cast in investment caliber bronze are our hallmark but often these details go un-noticed.

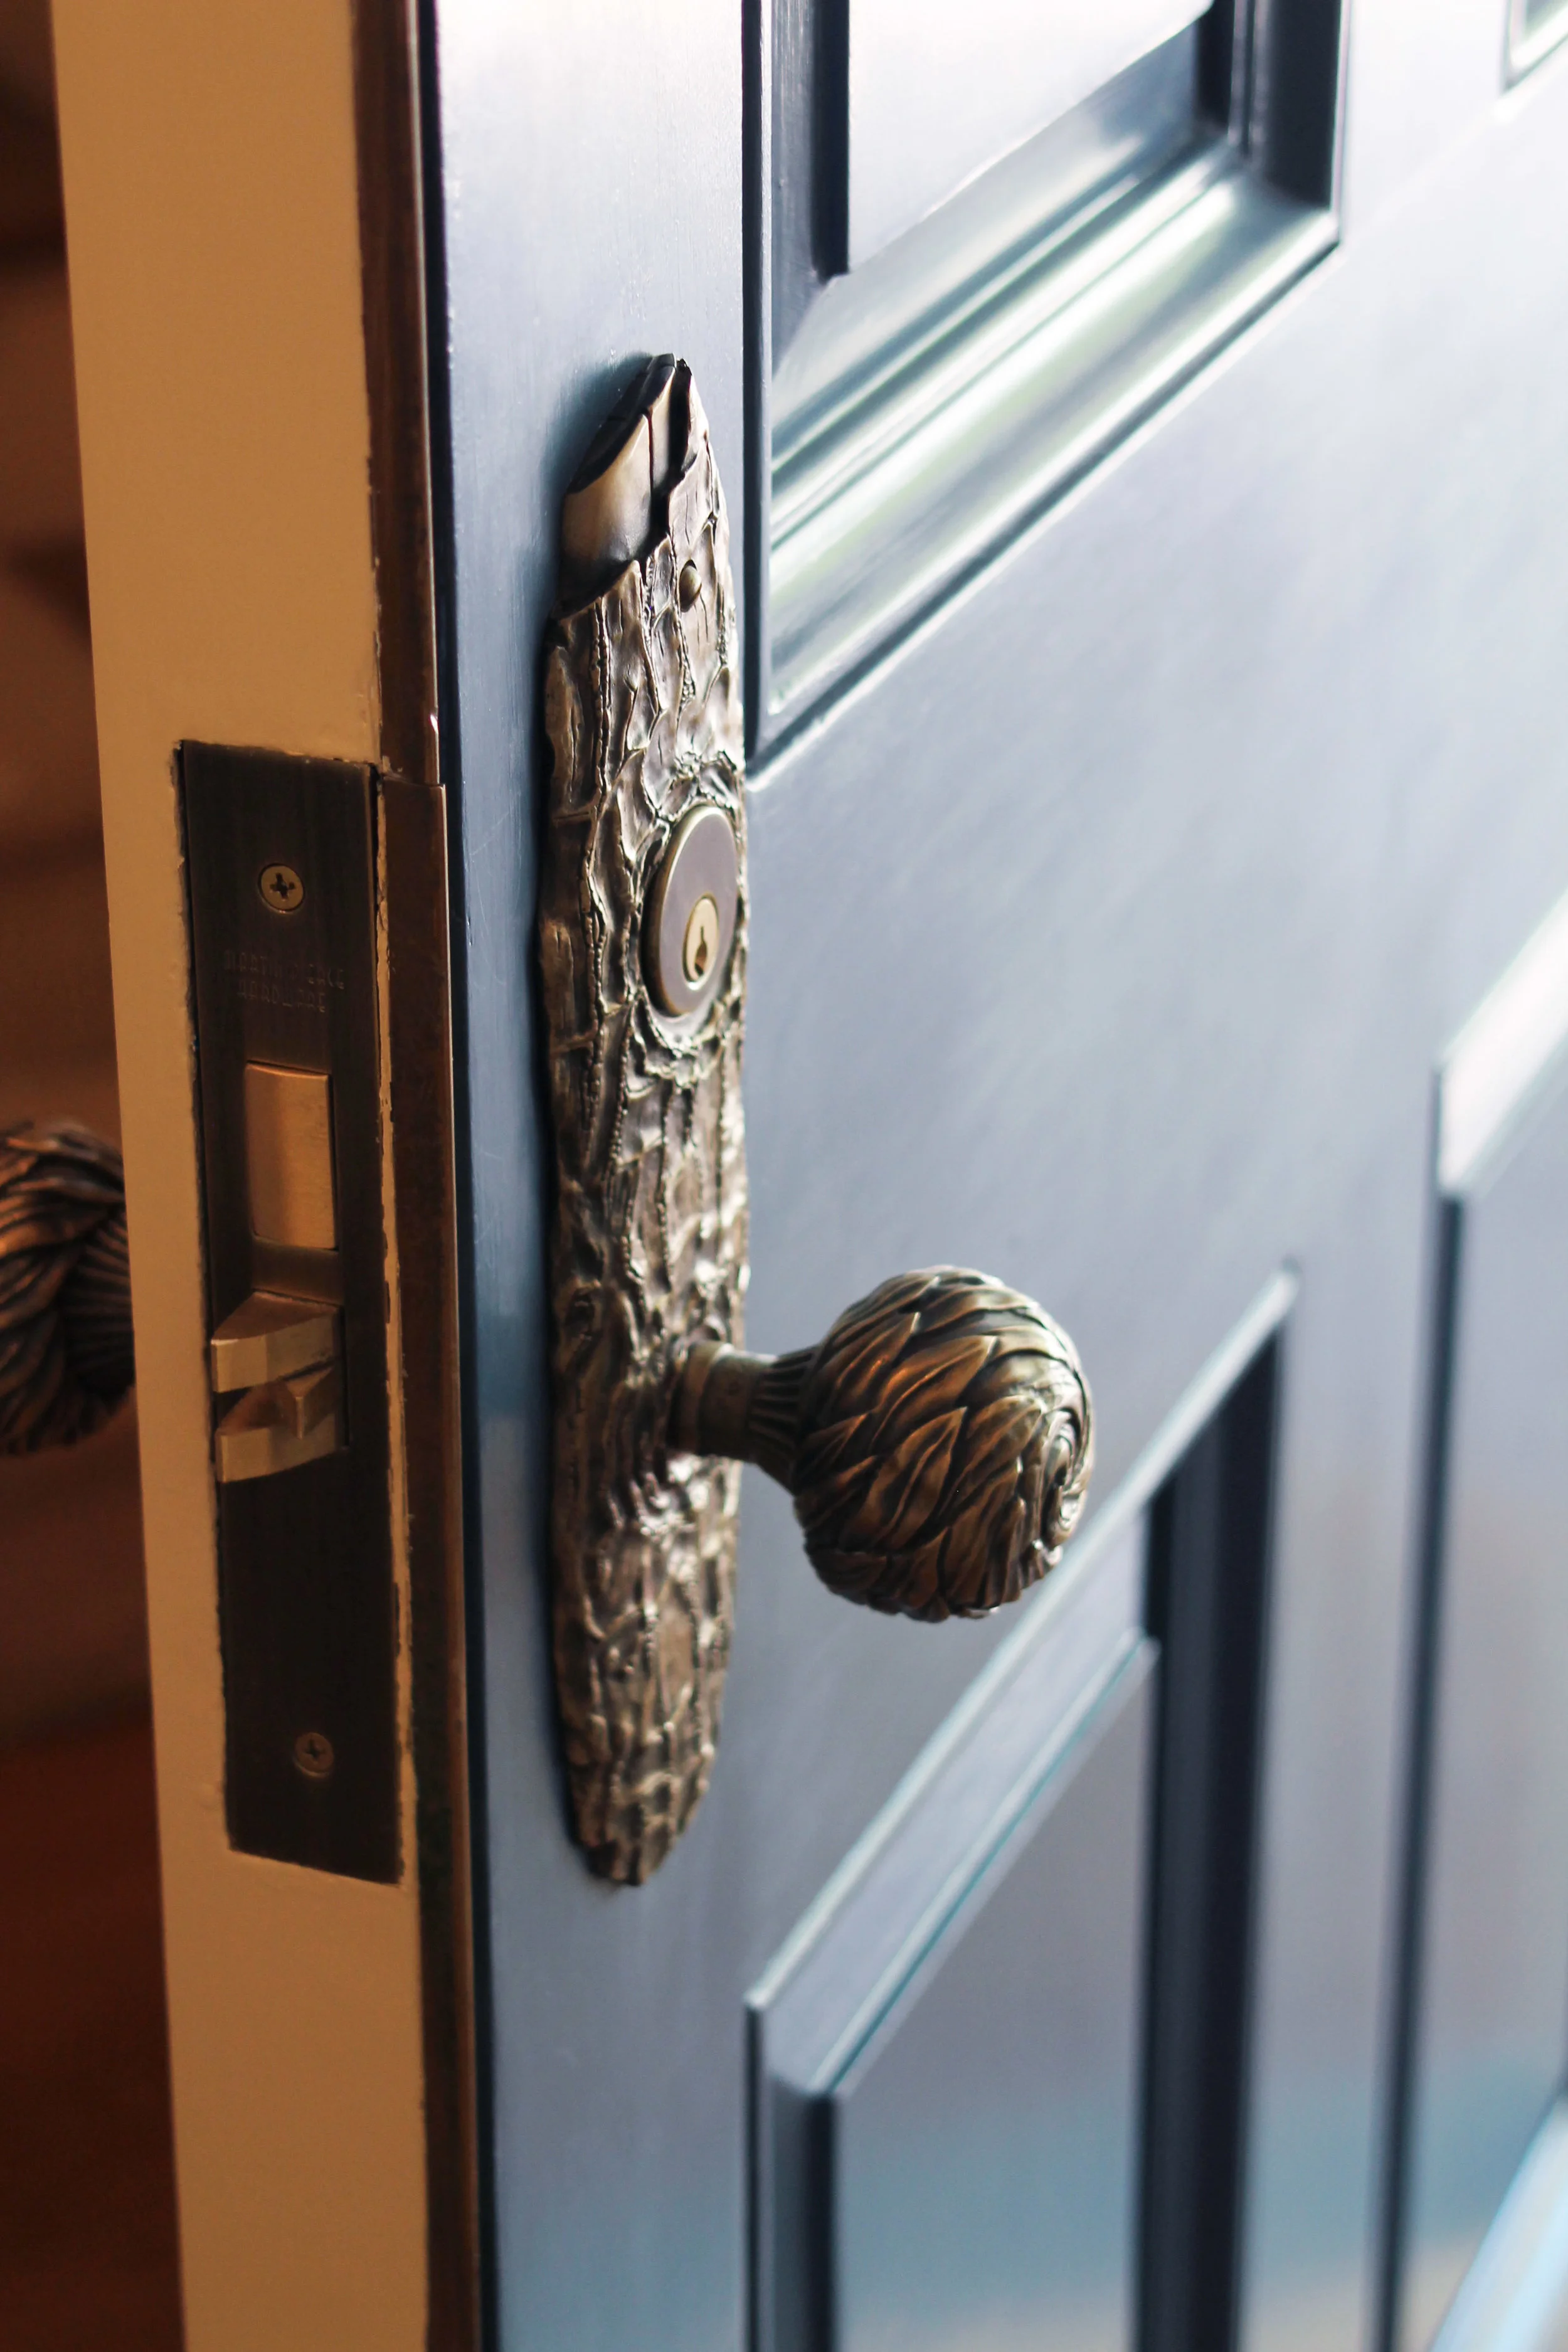
The Willow heroic door knob is the signature piece in the Willow collection of bronze entry and interior door handles. Cast in bronze the entwined leaves are finely detailed to create a veritable vortex of swirling filigree. Made in 2 sections the backplate alone is 6.5 lbs. with the center a further 2.0 lbs. making a total of 8.5 lbs. of investment grade bronze. While bronze may not be as precious as gold it still holds its value over time especially when artistic value is added. This door knob is 11” tall by 7” wide and 4” deep (279 x178 x 102mm) and its scale deservedly gained it the title “heroic”.

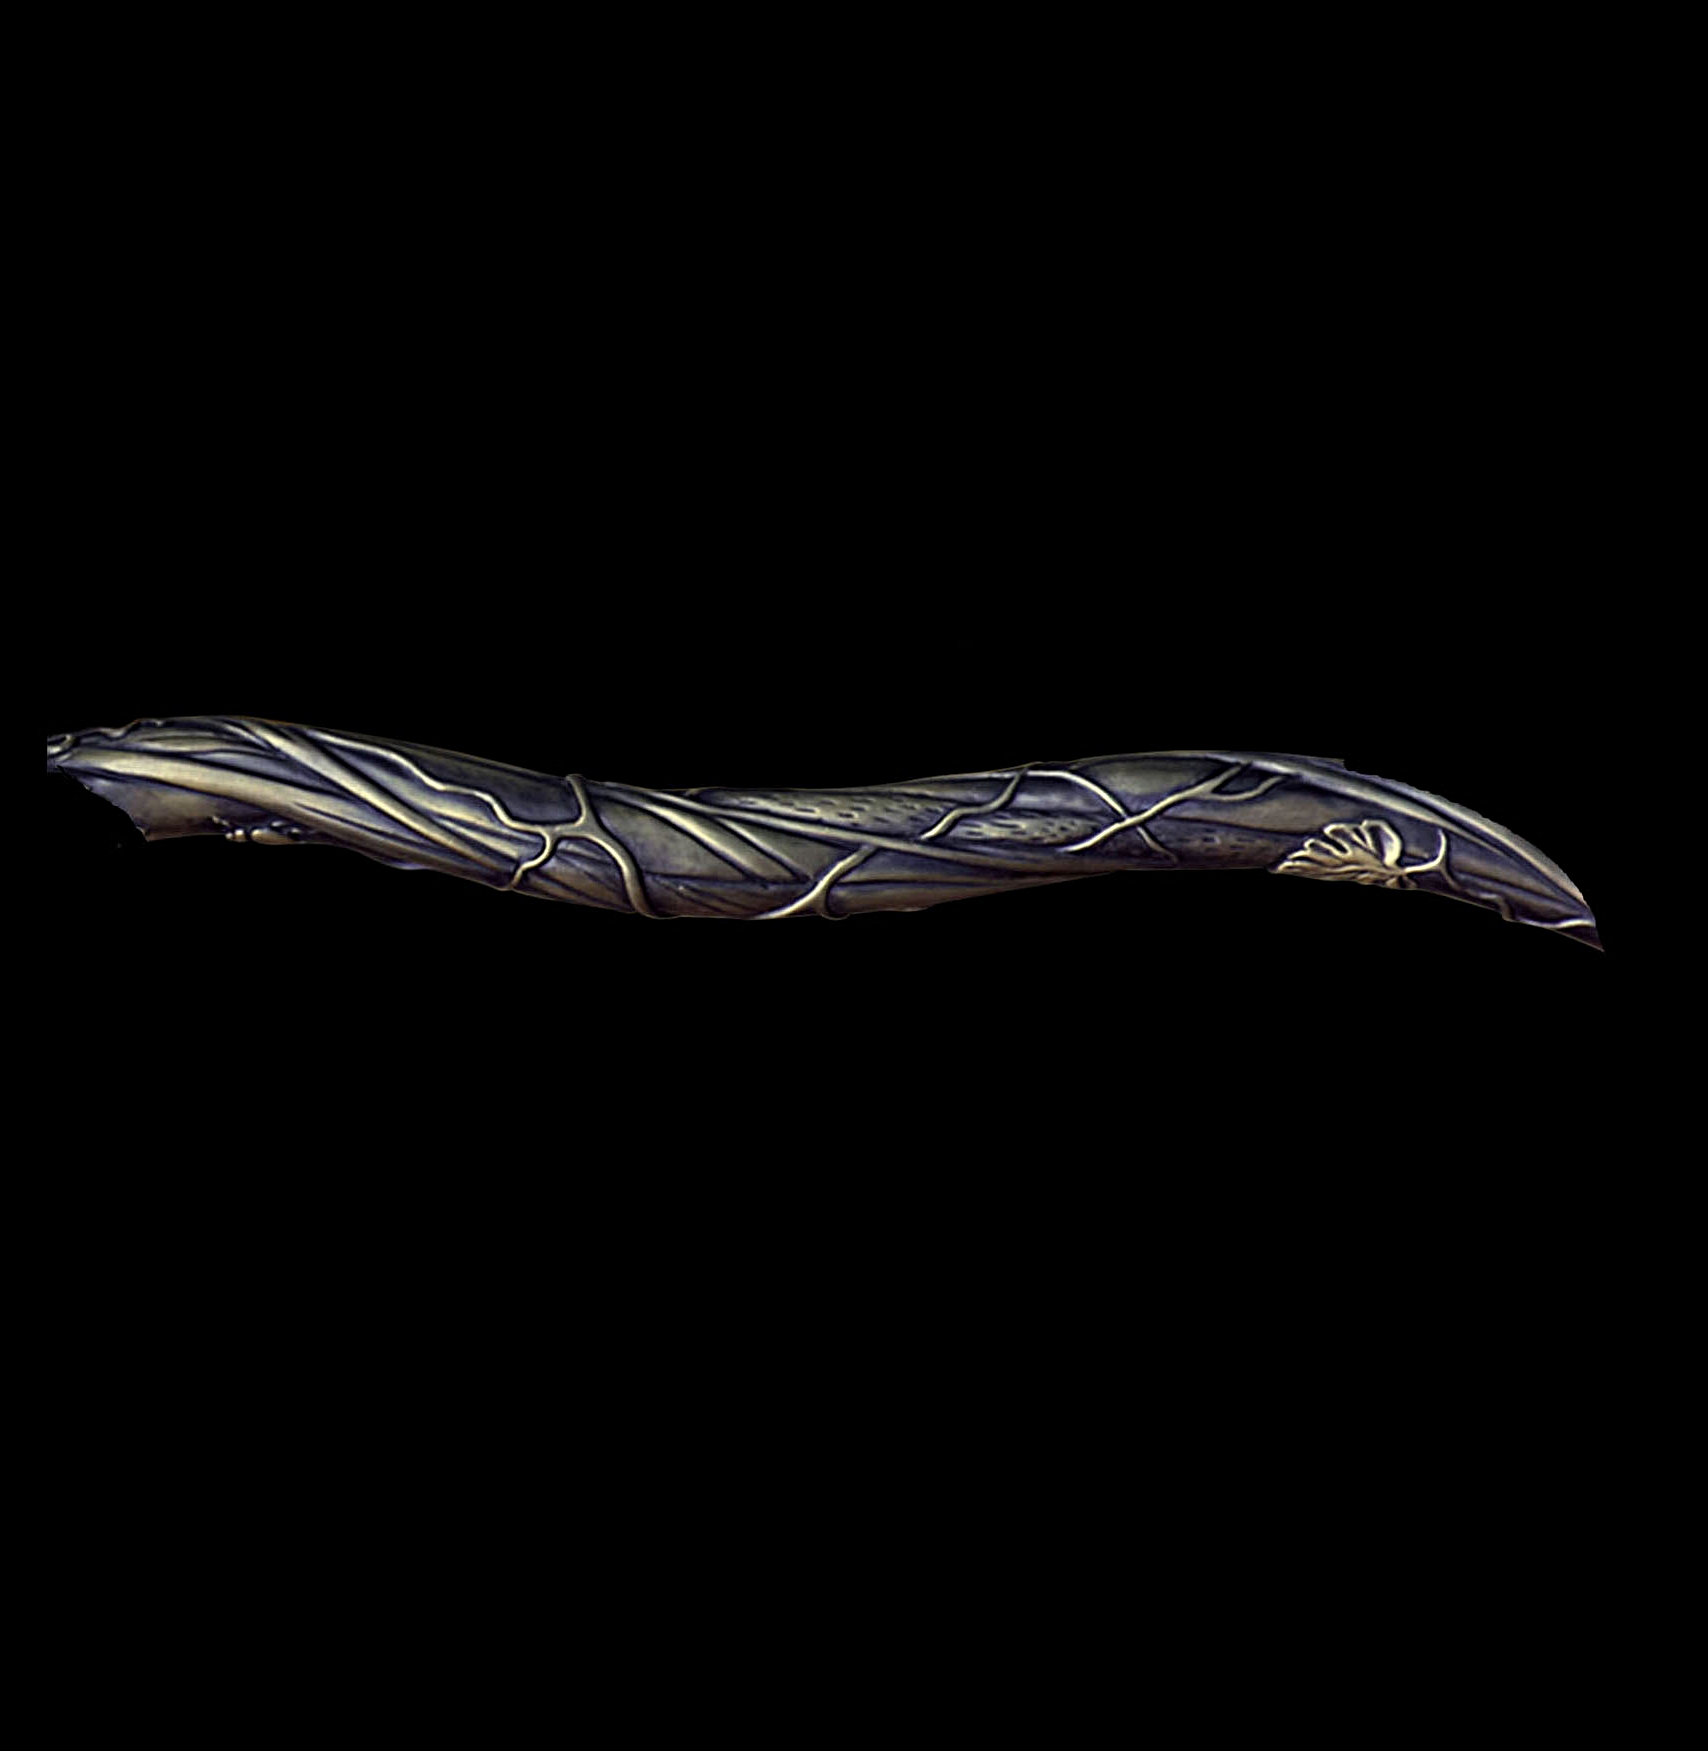
The Grapevine large door is sizeable at 3"W x 4"D x 42 ½"H (76 x 102 x 1080mm) and contains 11 lbs. of bronze. There are some small difficult to spot details in this piece that remind me of Gringling Gibbons the legendary 17th century Royal wood carver whose works are world renowned for the amount and depth of his relief carvings. Gibbons is known for his 3-dimensional carved leaves, flowers and berries but he also carved more lurid hanging fowl and human skulls. While free of human bones the Grapevine pull does have the odd beetle so may not be suited to those with an insect phobia. For the collectors among us this statement piece is part of a limited edition of 100.

grapevine-insect-section.jpg

Fibrous gnarly tendrils of bronze cling to the center stem.

grapevine-section-gnarly.jpg
Hidden details

Hidden details


Fine Details Define Luxury Door Hardware

I have recently been tasked with organizing hundreds of photographs we have for our door handles, cabinet pulls and bathroom accessories and so have been revisiting some of the close -up shots of our more detailed unusual handles and decided to share some of the images in a post.

The phrase “the devil is in the details” sums up perfectly our view on fine door hardware but where did the phrase come from and what does it mean when applied to door hardware? A google search brought me to the site; phrases.org.uk which is devoted to the origin of sayings, and is well worth bookmarking. The phrase probably dates back to the 1800’s and is attributed to several likely authors and originally was expressed as “the God is in the details” and like the modern version suggests that whatever one makes should be done well and with due regard for the finer points or details.

As hardware artists this has shaped our door hardware in 2 distinctive ways;

When creating the original pattern Martin Pierce spends hours, days and often weeks carving fine details into the wooden pattern to achieve an intricate piece that will become the parent of all the castings that are made from the mold. Devoting the time it takes to create these artistic details jettisons our work into the luxury market.

lizard-lock-trim.jpg

The mantra also impacts the lengths we will go to achieve the completeness of a style. In our lizard collection it was important that the ancillary trim for the door lock followed the lizard theme, so we spent time planning and designing a very natural accompaniment.

Similarly, when tasked with a commission for a Willow style cremone latch while the commission did not specify a custom trim for the bolt, this was a detail we felt was needed for completeness.

Hedgerow Custom Cabinet Pulls - a new direction

We really enjoy working with creative designers and Bonnie McIntire is one of our favorites in this select group. A couple of years ago we had the pleasure of working with Bonnie and created a hybrid entry door set that combined the willow and lizard collections to produce a Willow Bark entry knob set for a Bel Air residence. This was not an obvious combination of styles, but the result was a playful balanced pairing.

The Willow theme continued through to the kitchen where willow cabinet knobs provided the stopping point for rows of hedgerow branch pulls. While the branch pulls functioned well as pulls for opening drawers, one bank of drawers were situated in a high traffic area where there was little room to pass and to reach the upper cabinets. Unlike cabinet knobs, pulls are generally not self-contained and often the end of the pull for aesthetic balance extends beyond the mounting post and can in confined areas catch on tea towels etc.

Tree Cabinet Handles for other relatives see plant cabinet knob and pulls

Tree Cabinet Handles for other relatives see plant cabinet knob and pulls


When we cast our pieces, we make a wax model and if the number of pieces is not daunting we can make modifications to each wax piece at this stage before the pieces are shelled and cast in bronze. In this case we shortened the top of the pull so that it ended at the mounting post and re-worked the textured indentations and shape to retain aesthetic balance. The result will be a pleasing variation of the branch pull and one that will work with the existing screw holes. If the number of pieces or the amount of labor had been greater then we would have made a new original to incorporate these changes and then created a new mold.

wax-stage-custom-cabinet-pull.jpg


We will keep you posted as we proceed to cast these pieces in bronze.

Are Contemporary Door Handles also Modern Door Handles - untangling semantics

Being a product of the 50’s and later being influenced by the 1960’s mod culture I have often used the adjectives modern and contemporary interchangeably and see that many search engines also assume these terms are synonymous.

Various dictionaries define contemporary as meaning to live or be from the same time so clearly the word can be used to describe past periods as in “Gaudi and Mackintosh were contemporary architects”. By comparison the word modern is defined as being in the present or in recent times and does not have the historical breadth as the word contemporary. That said, social trends and common usage may have the biggest impact on a word’s meaning and while the word modern was, in the 1960’s understood to mean to fashionable or hip, the word now seems a little dated. Lately I find myself describing my Martin’s designs as futuristic which is not surprising given his fondness for sci-fi. So, when you look at these pictures of our work use whatever term you think fits!”

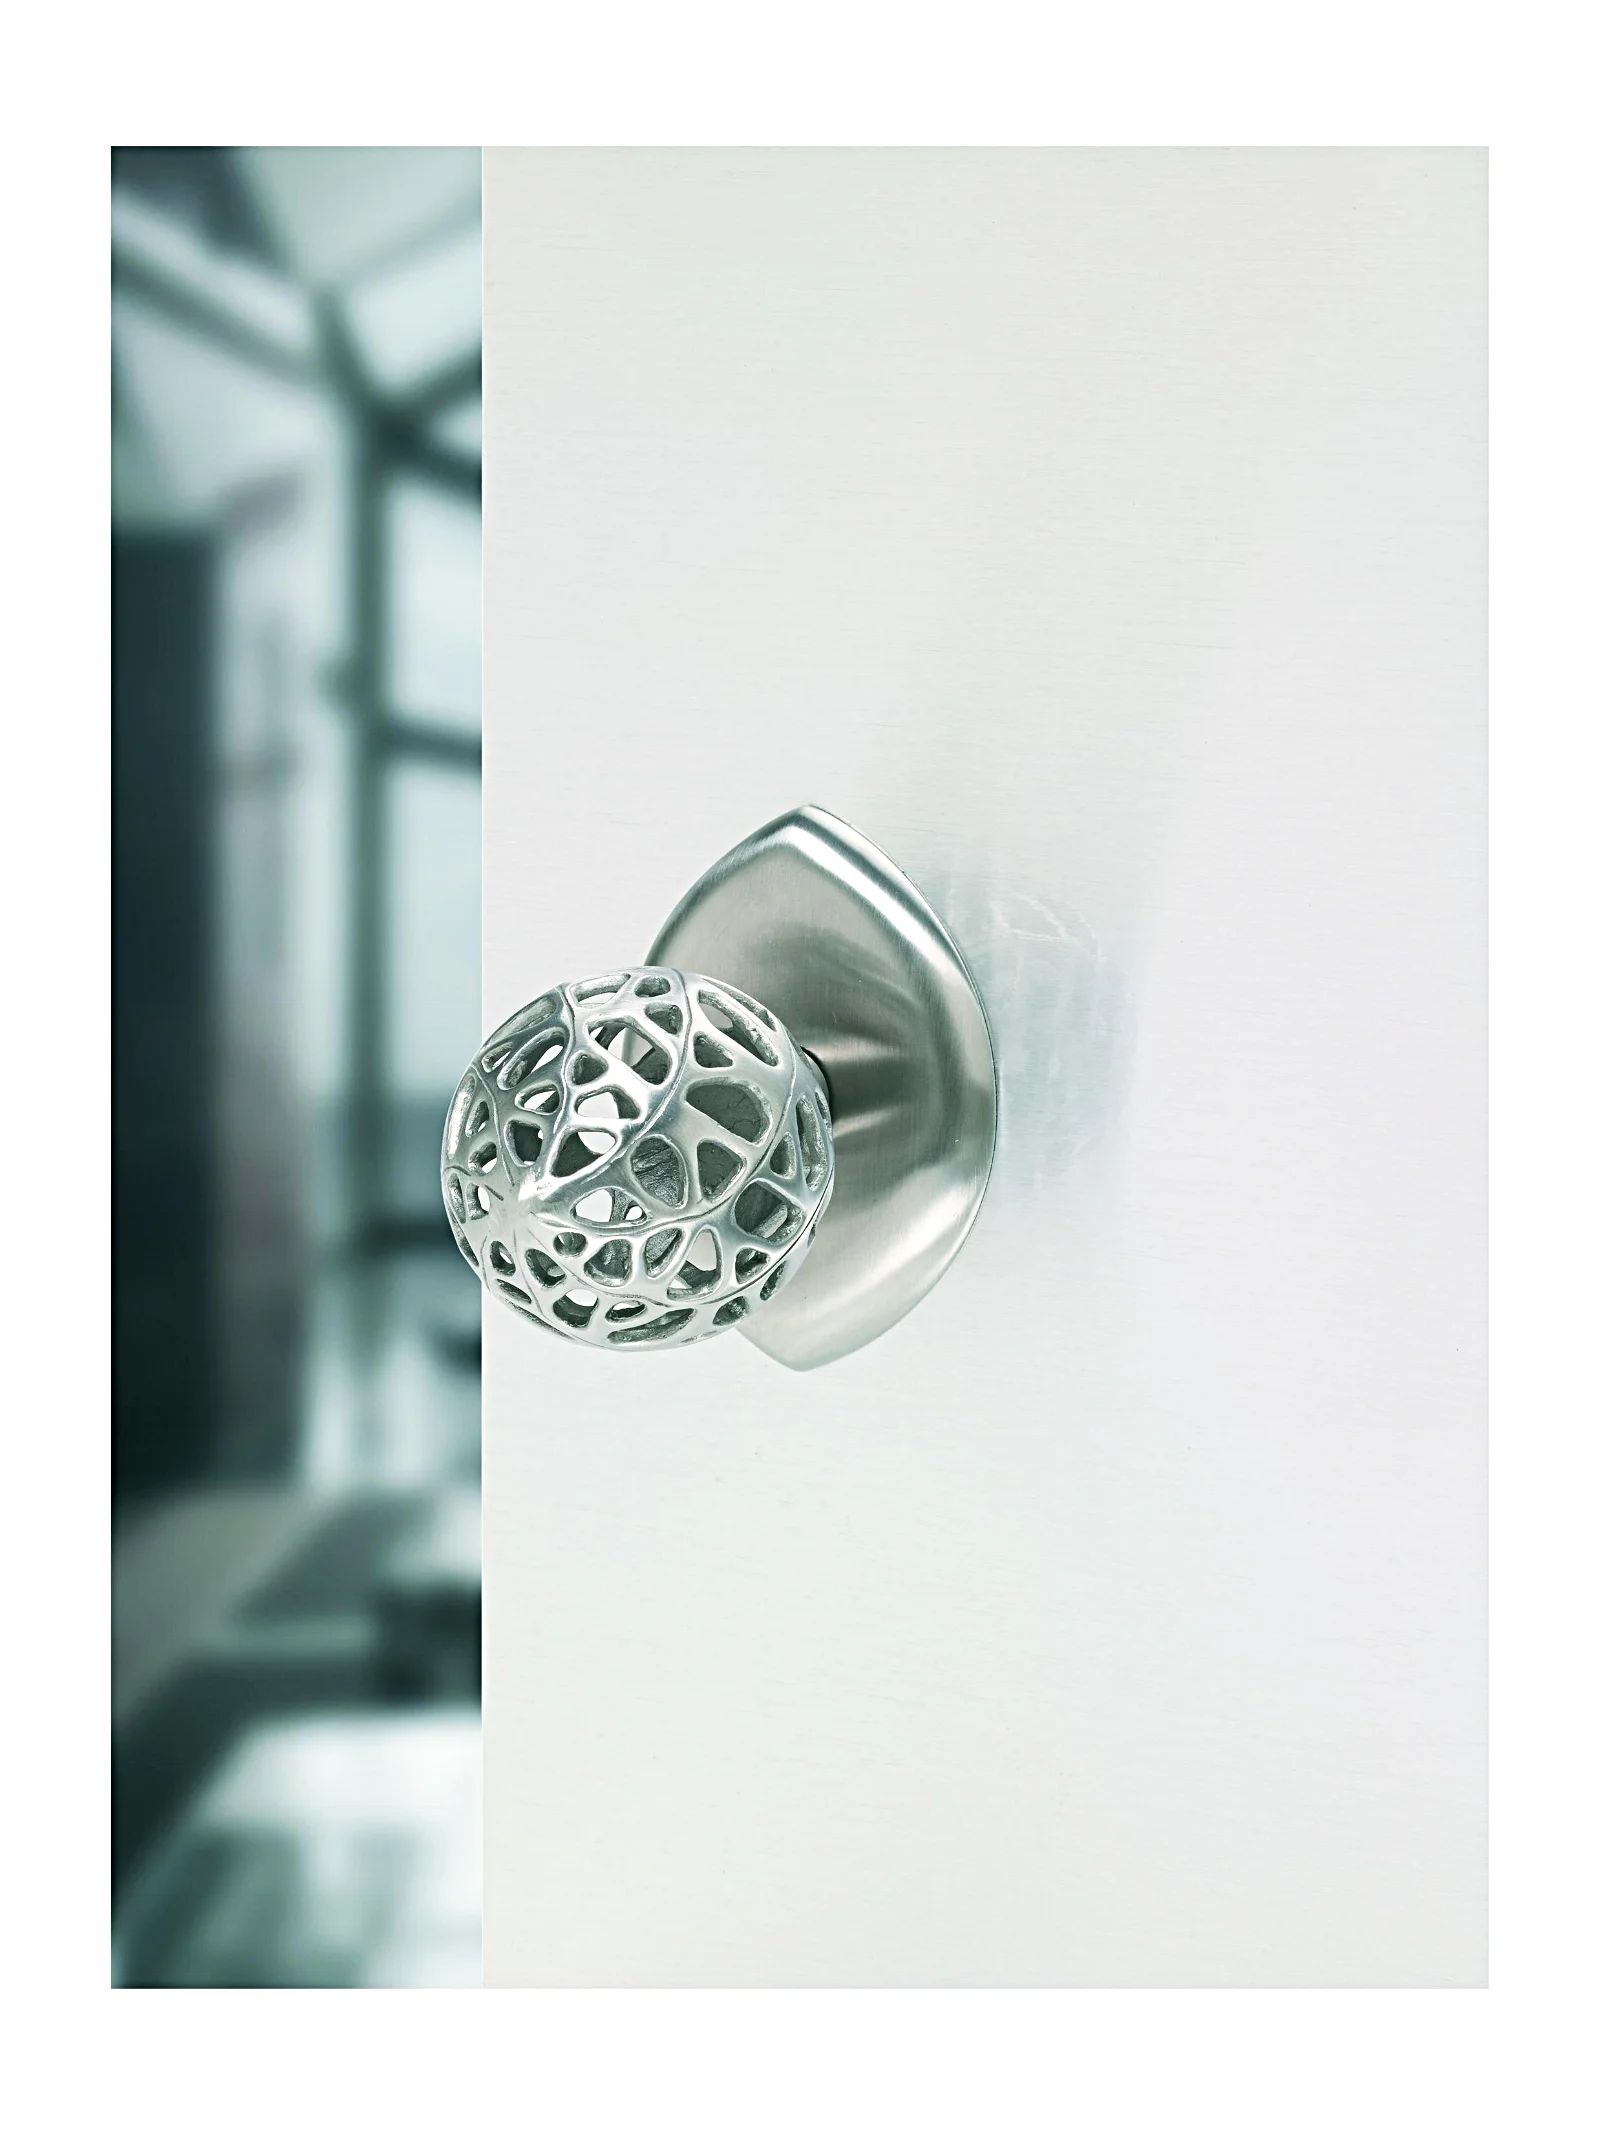
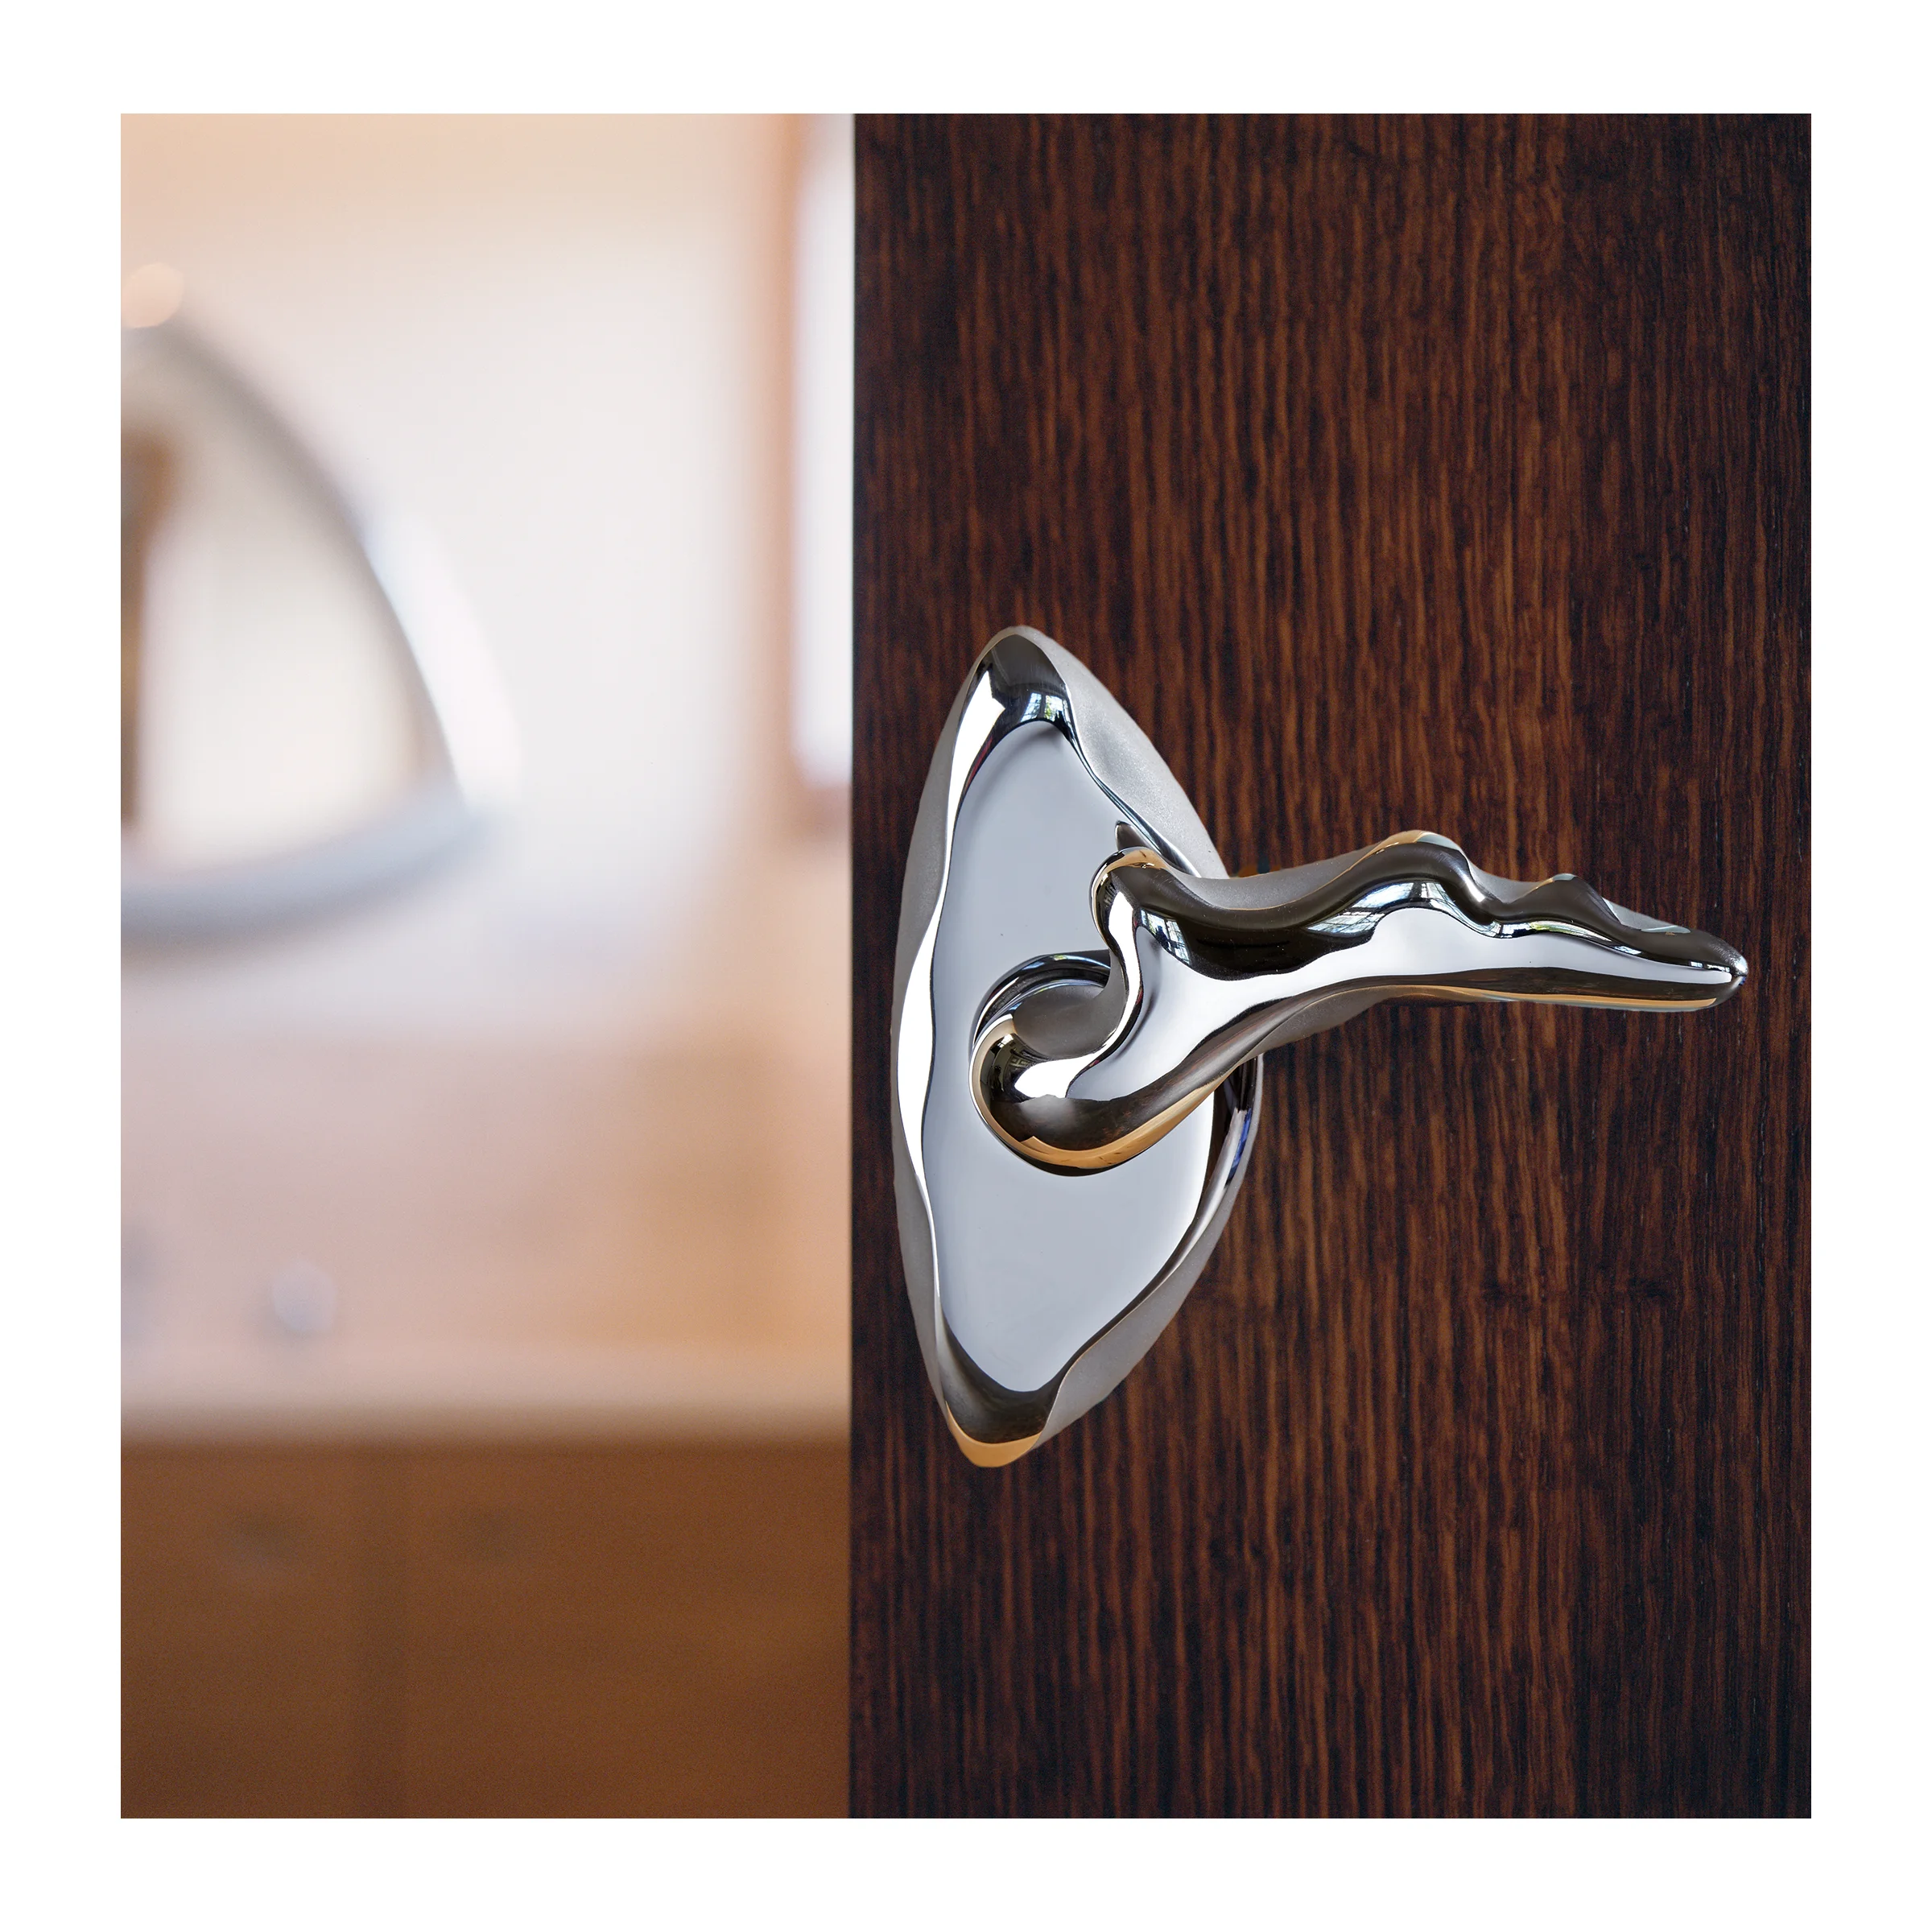
The Morphic serpentine door pulls when cast in stainless steel do appear a little alien and while the first film in the alien series is one that Martin has seen countless times the lead alien was not a model for this pull.

Perhaps the offspring of the alien may have had a more direct impact on the Morphic door knob.

Thankfully the more “modern” Ergo lever has it’s roots in the art nouveau period.


Custom cabinet hardware and the challenge of creating steel replicas of pewter castings

We were recently commissioned to replicate cabinet handles from the 1920’s for use in other areas of a home being renovated. It was not possible to establish the base metal used for the originals without damaging the pieces and our best guess was possibly the castings were made in pewter or nickel. While the metal alloy did not impact our ability to replicate the shape of these 3 cabinet pieces it did present us with interesting patina and finish choices.

We began the project by carefully cleaning the originals so that we could get a good impression in our latex rubber mold. As the pieces were small simple shapes we were able to make a single two-part mold that would accommodate all 3. We could have made individual molds for each piece but given that we were making less than 50 pieces this would not have been cost effective. We made a simple mold and after cleaning the originals sprayed on a release agent making them easier to later extract from the latex mold.

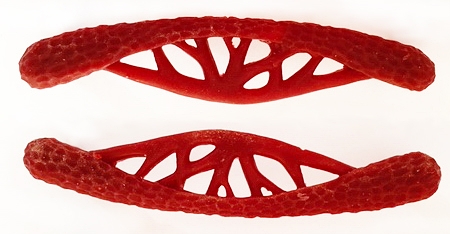
The photo below shows the red waxes that were made from this type of mold using Westech’s V510 wax V510 that has melting range of 185° to 195°. The originals were made for different screw threads, but the replicas need to suit modern needs so were drilled and tapped for a uniform 8-32 threaded screw. Stainless steel is an excellent durable alloy but needs to be heated when applying Birchwood’s M20 dark patina. As an added measure we baked the pieces in a clear matt enamel to protect the patina and give a very subtle sheen.

After Patina Applied and with Clear Enamel Baked On

After Patina Applied and with Clear Enamel Baked On

In steel before finishing and in red wax

In steel before finishing and in red wax

Luxury Home with Star Gazing Observatory

As a brand that specializes in unusual custom hardware we have over the years created unique door handles for hotels and luxury homes, but this year marks our first venture into designing door handles for a private observatory.

IMG_4397.jpg

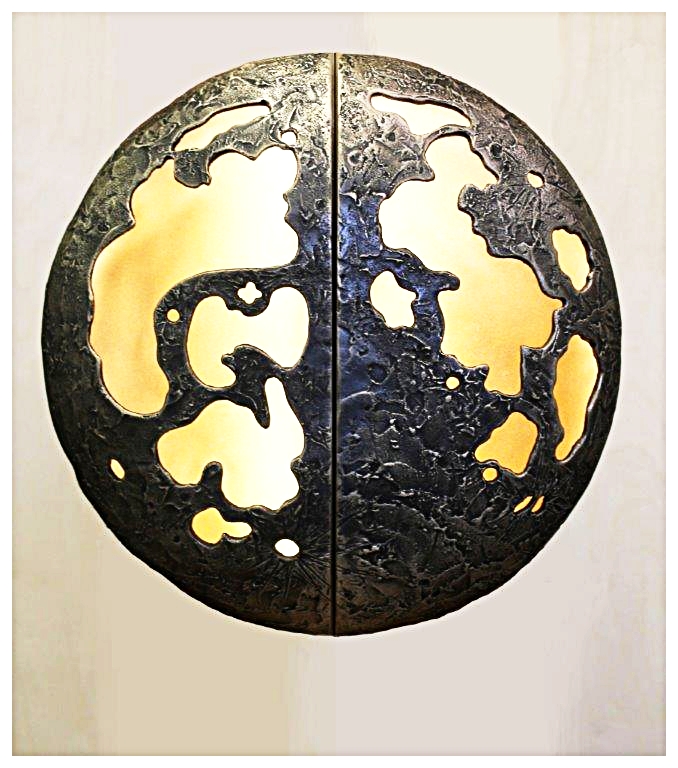
When contacted by LM Design Group, an international Los Angeles based design group we did not appreciate that the sketch they provided of moon handles was for an observatory for an overseas villa.

luxury-home-door-handles.jpg

The commission came at an opportune time as we had obtained UL approval for our new line of illuminated handles and were able to take this technical know how and configure the LED lights to work inside a concave moon fixture.In a previous post we shared a short video showing how Martin carved and hollowed out the concave basswood pattern that was the base for the door handle. The pattern was coated with a ¼” of gesso which formed a surface that could be carved to create moon craters and stylized moon texture.

moon-texture-door-handle.jpg


The image below shows the pattern after carving the gesso was sprayed with a grey color before being carved as the natural white gesso is to reflective making it difficult to carve as depth is more easily judged on a colored surface. The image to the right shows the same approximate area as rendered in bronze and finished with a dark antique M20 patina.


While the original design was to be open with light shining through to the bronze back panel the client preferred a softer light, so we added a custom plexiglass diffuser.

Your name Cabinet Pulls

Using a family font as a custom cabinet pull.

We are often asked to make custom door handles and custom cabinet pulls but not all requests can be met so I wanted to share with you a recent project we have just completed.

The home owner was remodeling his kitchen and wanted to use his simple but specific family business brand to create cabinet pulls. The client had 2 good digital files showing the front and side of his JJ font and as I shared in an earlier post we were able to use this to create a 3D model. Once the model was complete a mold for the single and double JJ 2 was created, wax replicas were made and shelled and finally steel castings were poured.

Brand Name Custom Cabinet Pull

Brand Name Custom Cabinet Pull

The project was one we were happy to make for following reasons.

While the clients budget was fairly modest the design was not overly complicated and the 3D modeling could be done easily as there were excellent pdf files that showed the front and profiles of the J font and they were scaled to size. The quality of the files helped keep the modelling costs down and helped speed the production process.

your-name-cabinet-pull.jpg


The client had planned for the fact that cabinet doors are directional and can be either left or right handed and he creatively chose a design that could be inverted to make either a left or right pull. As the budget was limited this was a relief as we had only one tool for the larger J’s and the smaller double JJ’s.

The cabinet pulls were cast in stainless steel and were brushed by hand for a simple but chic look.

We made a total of 80 pulls from start to finish in 12 weeks.


Mixing it up with Bee Door Knobs and their Lizard Friends

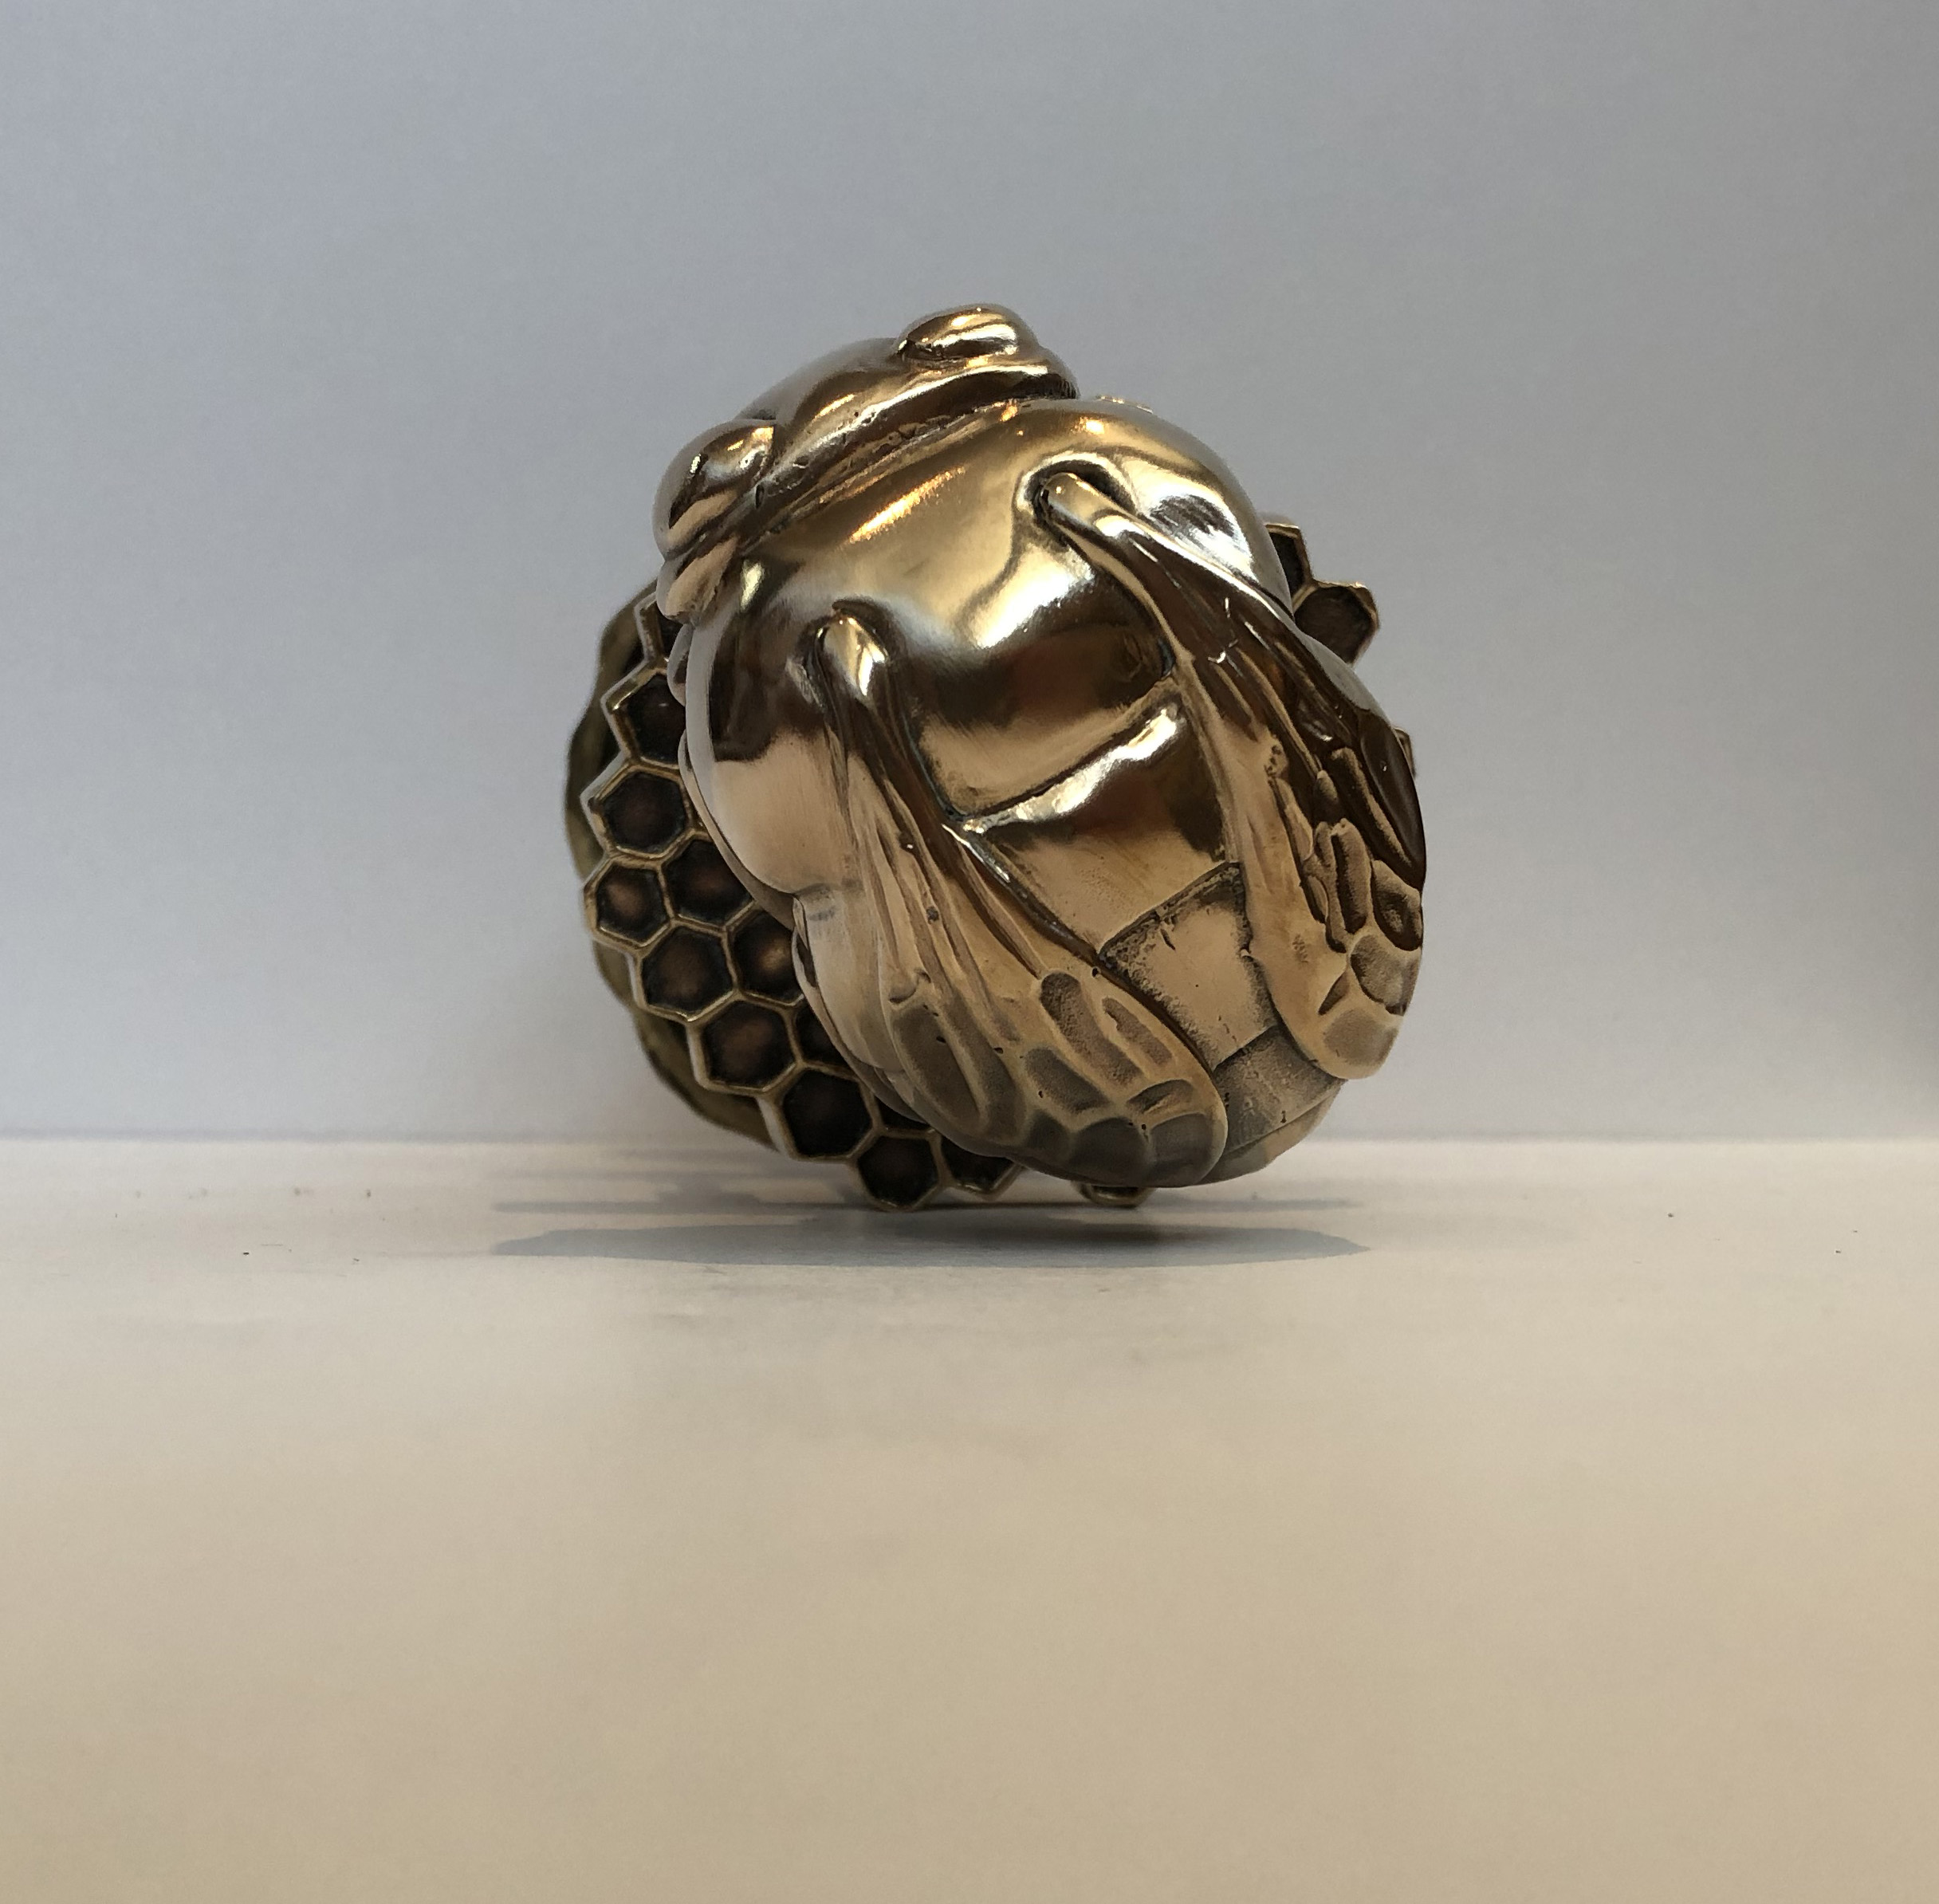
The nature inspired Netsuke door handle collection was not conceived as an interchangeable series, but thankfully creative interior designers have conjured up imaginative ways to use these as combination door handle sets. Case in point is a recent project where the bee door knob was paired with the lizard door knob to create a whimsical statement. The sets were specified in polished bronze to create a stunning jewel like set for a custom makeover of the master bedroom and bathroom. The bathroom privacy set used a simple push-pin latch on the honey comb side with a discreet emergency release on the bark rose side of the door (exterior).
Our door handle knob sets are connected with a square 8mm spindle that is attached to each knob with a set screw or Allen screw. As we use the same type of spindle for all our door knobs most of the knobs are interchangeable. Since other door hardware manufactures use different spindles and methods of attachment our knobs may not be suited as half sets with knobs supplied by others.

The Netsuke collection comprises 4 interchangeable animal knobs including a rabbit, frog, bee and lizard making them popular choices for children’s bedrooms. While whimsical in nature, these animal knobs are finely detailed and cast in solid bronze with each knob using a lb. of molten bronze.

As a transitional set that bridges the classical with whimsical you may want to consider the Hedgerow and Willow knob on the more public exterior side of your door with a Netsuke knob on the more private interior side.

Unique Metal Door Pulls - Influence of Medium and Luster

Our contemporary door handles, Morphic and Ergo are usually seen in a polished or satin or 2 tone finish. Each finish can give a different aesthetic to the same handle allowing the same handle to be employed in different areas to different effect.


These 2 modern collections of door handles can be cast either in bronze or in stainless steel and the appearance and mood is very different. When you add the textural layer from smooth, to satin to brushed you achieve even greater scope of use.

Consider the Ergo heroic pull as shown here.

The Ergo pull shown on the left is cast 316 stainless steel while the image on the right is silicon bronze. Both were cast using the same mold and by means of the lost wax method of casting. Both metals are resistant to corrosion but the stainless steel is more easy to maintain without the need for any type of sealant. By comparison the bronze unless sealed will tend to become more yellow over time.

As the Ergo handle is extremely fluid with deep recessed areas it lends itself to a sophisticated 2 tone finish. In the detail photo shown below different facets of the handles have been polished or sand blasted to create contrast and depth.

Ergo 2 tone bronze steel .jpg

Write here…

Compare the top sand blasted section of the steel wave to the same section of the bronze version.


Unique Metal Door Pulls - Influence of Medium and Luster

Our contemporary door handles, Morphic and Ergo are usually seen in a polished or satin or 2 tone finish. Each finish can give a different aesthetic to the same handle allowing the same handle to be employed in different areas to different effect.


These 2 modern collections of door handles can be cast either in bronze or in stainless steel and the appearance and mood is very different. When you add the textural layer from smooth, to satin to brushed you achieve even greater scope of use.

Consider the Ergo heroic pull as shown here.

Ergo bronze and steel.jpg

The Ergo pull shown on the left is cast 316 stainless steel while the image on the right is silicon bronze. Both were cast using the same mold and by means of the lost wax method of casting. Both metals are resistant to corrosion but the stainless steel is more easy to maintain without the need for any type of sealant. By comparison the bronze unless sealed will tend to become more yellow over time.

As the Ergo handle is extremely fluid with deep recessed areas it lends itself to a sophisticated 2 tone finish. In the detail photo shown below different facets of the handles have been polished or sand blasted to create contrast and depth.

Ergo 2 tone bronze steel .jpg

Write here…

Compare the top sand blasted section of the steel wave to the same section of the bronze version.

Ergo wave bronze and steel .jpg


Luxury Home Bathroom Accessories

Whether it be the guests’ powder room or the master bedroom spa choosing a unique soap dish or intricately detailed towel rail can finesse to even the smallest space and can make a striking addition to even the most modest bathroom makeover.

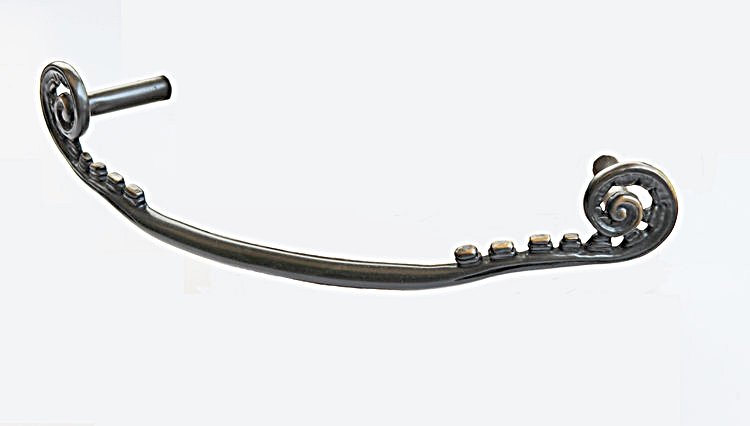
While this custom towel rail was designed to be used in an opulent yacht setting, by choosing a nature inspired design and a more rustic bronze medium this unique towel rail is both modest and luxurious. Had this piece been rendered in polished bronze the appearance would have been garish.

luxury-towel-rail.jpg


Polished towel rails and other bathroom accessories do have their place in any bathroom makeover but consider using a more sophisticated two-tone finish such as the one used below on the Ergo towel rail where the polished facets are softened by satin finished contours. The effect is labor intensive requiring  each piece to be firstly hand polished and then masked so that the contours can be subdued by hand brushing, the result though is a subtle and very tactile towel rail.


Our contemporary bathroom accessories in both the Ergo and Morphic collections are typically ordered in stainless steel a medium that plays well in any contemporary bathroom makeover. By comparison the more classical Hedgerow and Willow towel rails and soap dishes are used in both transitional and rustic bathrooms. That said the Ergo style can work equally well when cast in bronze and finished with an oil rubbed antique patina which gives it a more arts and crafts appearance.

Labor Day - Drought Tolerant Labor of love

The drought tolerant garden and front curb are almost complete needing only the final but vital drip systems to be installed. The drip system will deliver water to the location of each plant set on a timer for 10 minutes twice weekly to begin with and then hopefully on a weekly plan.

Garden 3.jpg


Stages recapped;

Soil and root removal.

We removed about 2” of top soil and dug up as many roots from the old grass as we could, this was laborious hard work but meant that no weed killer or other toxin was used in the process.The remaining soil was then compacted manually with a tamper.

Planning areas, laying weed barrier, adding top layers

The garden was mapped out with stakes separating areas that would be pathways and seating from areas devoted to plants. A shallow 2” trench was dug along the perimeter separating these areas and a flexible  4” barrier was laid down and secured with plastic stakes. The entire area was then covered with a black cloth weed barrier. For the pathways and seating areas we then added 2” of sand colored decomposed granite which was applied in successive layers, each layer being compacted using both a mechanical vibrating plate compactor and a tamper in more confined spaces. For the pathway and seating area and before adding the d.g. we placed random shaped 2” thick stone. As the d.g. was stabilized each compacted layer was sprayed with water to activate the stabilizing bonding agent.

Garden 2.jpg

Where we were adding plants, we cut through the weed barrier and dug out a hole for each plant before filling with a combination of sand and enriched planting soil. The front curb was then finished with another layer of d.g. again compacted and activated with water.

We used loose sand around each of the plants in the front garden and finished this with pea gravel. We have reconsidered this plan as we are concerned that the pea gravel may retain too much heat to the detriment of the society garlic. As a remedy we will be pushing the gravel away from the garlic to create a berm to keep the garlic surrounded by cooler sand.

Making a drought tolerant garden part 2

We have now removed 2” of top soil from the curb and in a fit of eagerness decided to rip out the sad dying grass in the front garden. The soil was removed to take out the tenacious grass roots as well as create space for the new sandy soil that is better suited to agave plants that require good drainage.

 If you live in Los Angeles you can dispose of your unwanted soil at one of the city’s landfill facilities you will be charged by the ton and will have to haul it yourself.

Front garden.jpg


The next step will be to compact the remaining soil so that a weed barrier can be laid flat on top to act as a taut surface for the decomposed granite (d.g.) The soil could be compacted manually with a tamper but as we are also compacting 2” of loose d.g. we will be renting a flat- bed compactor from our local Home Depot.

The front garden has been designed so that there will be 2 types of terrain, one for walking and one that will be decorative with drought tolerant plants and pea gravel. We have chosen a gold d.g. that is very fine for the walkways and a natural mixed pea gravel for the planted areas. The supplier of both materials,  All Valley Sand and Gravel has a useful site calculator that helped me gauge how much of each to buy and thankfully as we need a few tons of each they also will deliver to the Los Angeles area.

sand.jpg

With the help of Alex at All Valley Sand and Gravel we were able to see samples of pea gravel, d.g. and crushed 1” natural rocks and elected to use the pea gravel as it will bed down more easily and will be less problematic underfoot.


Creating custom cabinet pulls and knobs

We have recently been commissioned by a home owner and a designer to create custom cabinet knobs and pulls for their respective bedroom and kitchen. The designer approached us with the task of creating 3 styles and sizes of cabinet knob to replace and supplement the ones in the home owners period property. In this case the existing original pieces were in excellent condition and could be used as patterns for a sectional mold that was constructed in silicone rubber.

The second commission was to create a completely new cabinet pull that would use the client’s distinctive family cattle brand as a model for the cabinet doors and drawers. The client did not have a physical piece that could directly be used to form a mold, but he did have a pdf file of the family font and from this we were able to create a 3D CAD model.

CAD File Created Using Client’s Font File

SMALL JJ_Iso View.jpg

Both projects will be poured in stainless steel using the lost wax method rather than using 3D Stereolithographic printing. As the molds for both projects are relatively simple one-part molds the upfront costs for design adaptation and mold creation were relatively low and added little to the per unit cost of the pulls. The number of units ordered was also modest ranging from 50 to 75 pieces, but it will be was enough to cover the cost of pouring a smaller crucible of steel.

First Waxes Created from New Mold Ready to be Shelled

Dbl crop.jpg
JJ wax 2.jpg


Planning a drought tolerant sidewalk

 I am planning a small drought tolerant garden for the area in front of my sidewalk and will be documenting my progress here.

The area is 3’ wide by 50’ long and has scattering of grass that is minimally watered by sprinklers.

IMG_1218.jpg

I plan to replace the grass with 2 borders of drought tolerant society garlic and a center section of dramatic agave plants.

There is a plethora of information and imagery on line devoted to the subject of drought resistant plants so choosing the color and species was not daunting. Once my choices had been narrowed down I turned to a local grower, Shelly Jennings of Worldwide Exotic Plants to find suitable sized plants. My goal was to find a medium sized agave that would serve as a focal point without becoming too unruly. Shelly’s nursery is large both in size and in the amazing variety of agave, aloe, grasses and shrubs making it a great one stop shop for my project.

IMG_1212.jpg

I chose a total of 12 Agave Univatata Aurea for the central section and will be adding 50 white and blue flowering garlic later for the borders. The agave will be space about 4’ apart and the garlic will be spaced at similar intervals but off center to the agave. The agave will produce smaller “baby” plants some of which I will keep for future use and the garlic will create bulb offspring which I will leave to  fill out the border.

Ground preparation:

Since I do not want to use any chemicals to kill the existing grass we will dig down to a 6” depth and remove both the soil and fine grass roots. Agaves need soil that drains well so the replacement soil will be a combination of sand mixed with potting mix.

Once the top soil is in place I will then have to decide whether to lay a series of drip lines or to water by hand. The existing water pipe is old and ugly but running a new line will be costly and logistically challenging as it would need to run under the sidewalk.

Once established both the agave and garlic plants will not require much water but when first planted the garlic will need to be watered 3 to 4 times a week. For this reason, I am planning on adding the garlic in the fall when hopefully we have less brutal heat.

To help retain moisture and to curtail weeds the top soil will be held in place by gravel. I have chosen Golden Coast gravel as the golden red tones will provide a nice contrast to the green, blue, purple and white plant colors. The gravel is not difficult to find and as I have a truck I was able to pick this up at a reasonable price from Prime Building Materials located in Sylmar.

IMG_1216.jpg


Kitchen Design Inspired By Trees

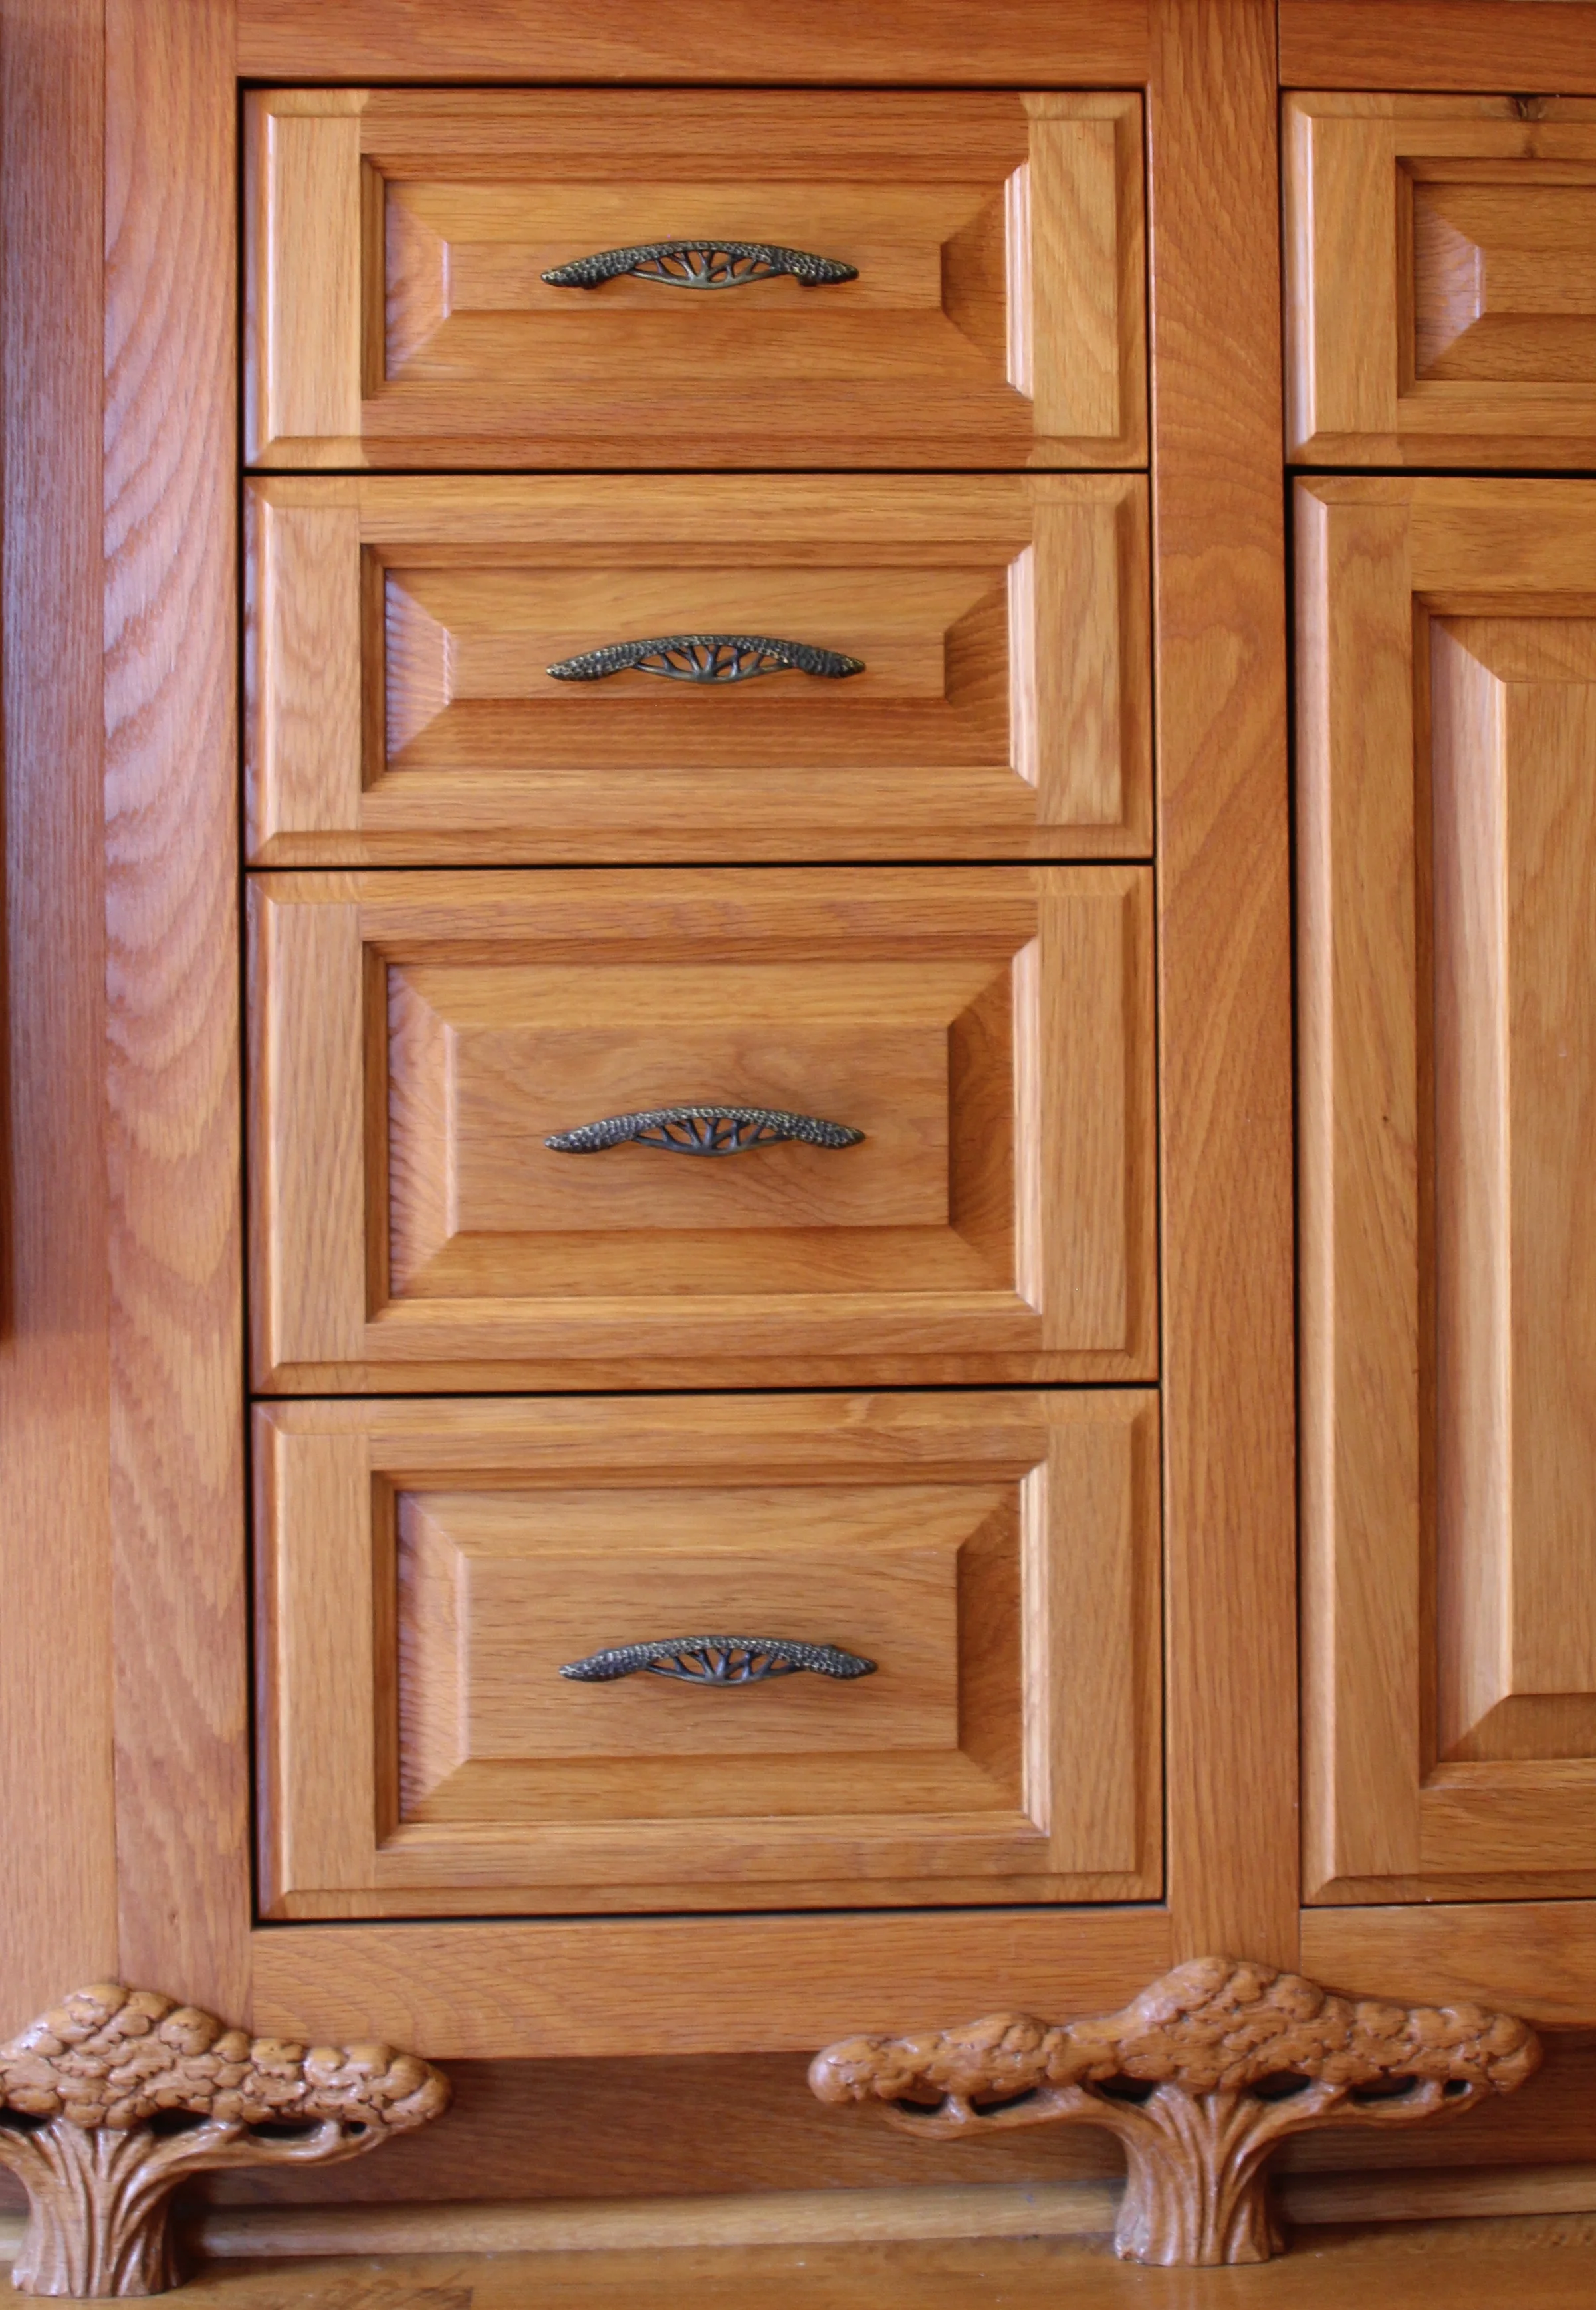
When we decided to remodel our 1926 kitchen we were able to tap into our experience as furniture and cabinet makers which gave us access to local lumber yards, wood finishers and wood duplicating machines. As a wood carver Martin was able to create two unique tree patterns that were then reproduced by a wood duplicator to create multiple tree feet for the cabinetry.

scenice tree.jpg

A wood duplicator is a machine that works rather like a pantograph. Duplicators vary in terms of the number and size of multiples they can reproduce with the output ranging from 8 to 24 units. A series of routers are connected to act in unison so that multiple blocks of woods can be cut all at once and uniformly. The wood pattern that Martin carved was used as a master template and guide to be followed by the interconnected routers with each station creating one copy. Two patterns were made one for the center cabinet feet and a second right angle design for the corner legs.


The choice of hardware was key to the overall kitchen design and the tree motif is what ties the cabinets to the pulls and knobs.


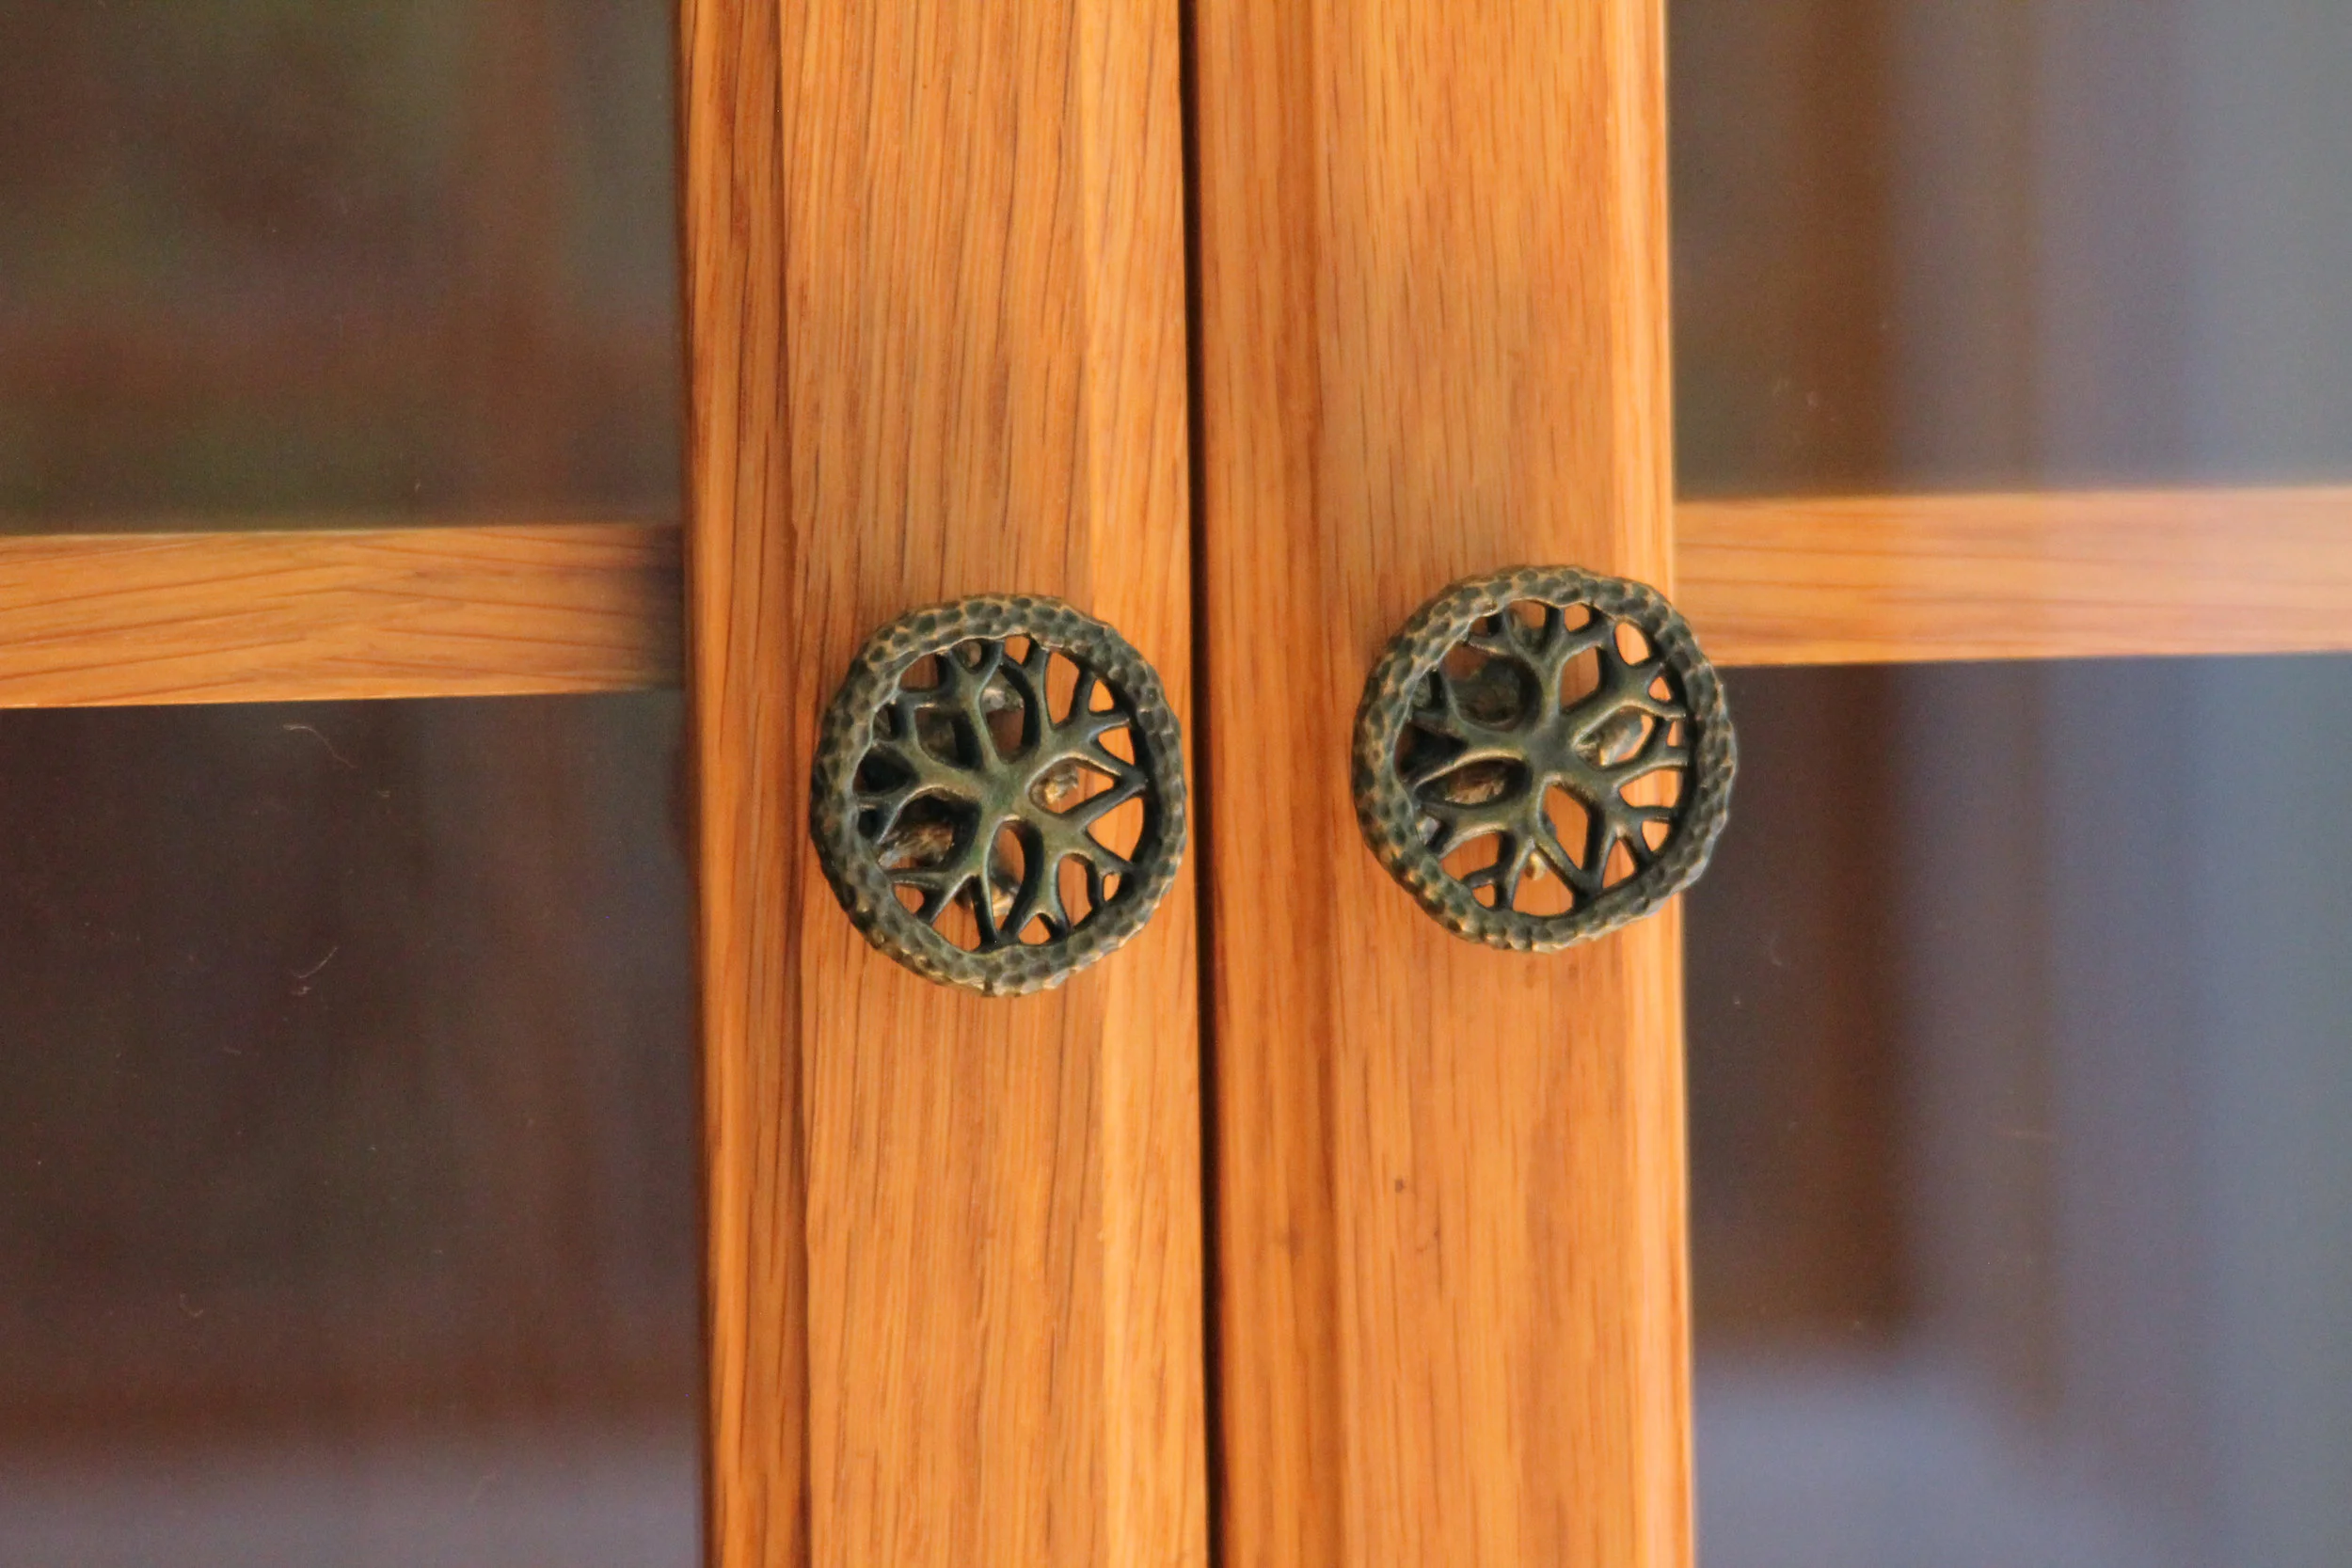
The Hedgerow cabinet pull collection has a large left and right large facing tree that worked well for upper cabinets and for the glass door to the butler’s pantry. For the lower drawers the Hedgerow branch pull worked well and the small round cabinet knob was useful for the  bi-folding  cabinet doors as well as the smaller upper doors. 


As the original red oak floor was  in excellent condition we chose the same species for the cabinetry and finished the hardware with a simple oil rubbed finish.

Unique Turn Pieces

A turn piece as its name hints is a piece that is used to turn or activate a deadbolt thereby locking or unlocking a door. While the turn piece performs a modest task, there is no reason why the design needs to be plain and attention to this small detail can be the defining touch to an entry door.

When we design a style of door hardware we create a specific decorative turn piece as one element in the collection and often employ a sense of whimsy in the design. However, as the turn piece plays a critical role in opening and locking the door, artistic restraint needs to be used so that the piece can be gripped and turned easily.

The decorative component must also fit within the cap of the turn piece so that the spindle can freely turn to release or throw the deadbolt.

At present we have 6 different turn pieces which were designed for different styles, but which can be used interchangeably as they all use the same spindle.

Hedgerow

The turn piece is a stylized miniature tree top canopy like the tree tops used on the Hedgerow lever.

Willow

The turn piece is a tight cluster of interwoven willow leaves and picks up the theme from the rose that it is mounted on.

Lizard

While the texture of bark is used in the lizard collection for the larger escutcheon plates the small “Y” shaped turn piece lent itself to a leafier stippled appearance.

Bee

The bee’s turn piece is a closed wing beetle a piece that also naturally compliments the frog and lizard entry sets.

Ergo

The turn piece is twist of metal designed to be easily fit the thumb and index finger.

Grapevine

Tightly entwined willow leaves create a small oval turn piece that compliments the willow rose.


How a Door's Stile Can Influence Your Style of Door Hardware

Yes the pun is intended this is not a typographical error. For doors that have a raised panel or glass panel, the flat unencumbered surface has a direct impact on the size and style of the door handle back-plate or escutcheon. The stile will also impact the back-set of the latch that is being used with the door handle whether it be a passageway or privacy latch.

What to measure?

You will need to measure both the outside width of your back-plate and the net width of your door stile, meaning, the flat area that is free of any molding or beading. You will also need to consider the door stop which is typically part of the door jam and which will overlap the door stile when the door is closed.

When measuring a decorative or asymmetric back plate or one that is uneven we suggest taking the measurement from the reverse flat side.

Where to position the escutcheon on the door stile?

To center or not to center the decorative trim will determined by factors discussed above and by the differing back-sets offered for tubular versus mortise latches. The back-set is the distance measured from the edge of the door to the center point of the lock and these are available at  2”, 2 3/8",2 ¾”, 3”, 4” for tubular latches and at 2 ½”, 2 ¾” for mortise latches. Narrower 1 ¾” and deeper 3”-5” back-sets can be found but usually are custom made.

Working examples

Interior Door with a 4 1/2” stile and with a 3/8” door stop using a back plate that is 3” wide. The center point of our door is 2 ¼” and center of our escutcheon is 1 ½ and the nearest back-set for a tubular latch which would position the trim at just over center point is a 2 3/8" back-set. The trim would be almost centered (1/8" off center) but  it would yield a  1/2" clearance from the edge of the plate to the door stop. If we used a deeper 2 3/4" back-set latch then our trim would be off center by 1/2" and a narrow 2" back-set would bring the trim too close to the stop with a mere 1/8" clearance.

 Patio Door with 5” door stile and 3/8" door stop and 3” back plate would have corresponding center points of 2 1/2” and 1 ½” so would work with tubular latch back set of 2 3/4” or a mortise latch of 2 3/4”. In the image below you can see how this would look with our lizard door lever set.

Lizard lever and knob on door stile.jpg

Levers ,Knobs and Handing

While the door stile will largely determine the maximum width of your  back-plate and how it will be centered on the door, the handing of the door and whether you use a door knob or lever should also be considered. Door levers pivot away from the edge of the door and can be operated with less hand engagement than knobs which tend to be enveloped by the hand making knobs more problematic for door jams that have wide door stops.

Useful resource – a client recently referred me to a Canadian site that provides a very helpful checklist worth reviewing if you are planning to mix styles and mediums in your kitchen remodel.


3D Printing as useful tool in casting custom door handles

 Casting a custom door handle requires an understanding of the shrinkage that occurs in traditional lost wax casting. When casting in bronze or steel the process starts with a pattern often sculpted by hand in wood or clay but with the advent of 3D printing we are now in some cases able to produce this as a Quick Cast  stereolithographic print (SLA). While these 3D prints are useful in developing prototypes they still need to be finished by hand and are often too expensive to be used as wax substitutes since they too are burnt out and wasted in the lost wax process.

3D prints have their place as prototypes and for custom short run projects where the cost of developing a mold or tooling cannot be amortized over a large enough quantity to make the project cost effective.

Recently we considered 3D printing as a protype tool in helping to create a left and right pattern for a short run project of 4 sets of door handles. When developing a new handle set we often break the design down into component parts and where there is a directional detail this means we must make 2 patterns one for left and one for the right facing section. 3D scanning and modeling allows us to use one carved pattern to create a second mirror image model that is printed in a resin compound. While this reduces the development cost, the digital print often needs to be re-carved so that very fine details like leaf veins and scales can be sharpened by hand.

The picture below of the Hedgerow door lever shows that the branches of this piece are very directional thus requiring a left and right mold, but the canopy is generic to both levers.

Hedgerow lever left right.jpg


One advantage that SLA’s have over wax patterns is that they are not subject to shrinkage. In lost wax casting shrinkage occurs when the molten wax solidifies and when the bronze or steel casting is poured. There are a wide variety of waxes used in this process and their composition effects how they pour, how they solidify and how much they shrink. While a wax pattern may shrink by approximately .6% no shrinkage occurs with the print.


Trying to mathematically predict the exact amount by which the wax pattern and subsequent casting will shrink is difficult when developing a new piece. If the dimension of the piece is critical then we will often create a mold and wax of a smaller section so that we can exactly determine the overall shrinkage and can then re-scale the complete piece making it and the subsequent mold large enough to compensate for this shrinkage.